Content for students
-

- About UPdigital
-
IT Services
- IT Services Directory
- Accessibility and Disability
- Web Apps
- Teaching Support
- Archives, Libraries and Repositories
- U.Porto Card
-
Accounts and Passwords
- Web Hosting
- Change/Recover Password
- Institutional Authentication
- Configure Forwarding in Microsoft Outlook 365
- Email Account (Lecturers and Staff)
- Email Account (Students)
- Google for Education
- HPC and Grid Computing
- Virtual Machines to Support Teaching and Research
- Microsoft Office 365 (Lecturers and Staff)
- Microsoft Office 365 (Students)
- Email Service
-
Printing
- Logging In to Printing Devices
- Load Quota
- Copying
- Scanning
- Web Printing
- Printing (Release Jobs to Print Devices)
- Printing From Institutional Equipment (Using PaperCut MF Client)
- Printing From Personal Devices (Installing Mobility Print)
- Printing From Personal Devices with Linux Operating System (Installing Mobility Print)
- Pricing
- Printing Service
- Website of the Printing Service
-
Networks and Connectivity
- Mobile Communications
- Wired Network
- Telephony (VoIP)
- VPN - Android (Manual Configuration)
- VPN - Android (FEUP Manual Configuration: SSL Check Point® Capsule)
- VPN - iOS (Automatic Configuration)
- VPN - iOS (Manual Configuration)
- VPN - iOS (FEUP Manual Configuration: SSL Check Point Capsule)
- VPN - Mac (Automatic Configuration)
- VPN - Mac (Manual Configuration)
- VPN - Mac (FEUP Manual Configuration: SSL Check Point Endpoint)
- VPN - Windows (Automatic Configuration)
- VPN - Windows 10 (Manual Configuration)
- VPN - Windows 10 (FEUP Manual Configuration: SSL Check Point Capsule)
- VPN - Windows 10 and 11 (Manual Configuration ICBAS and FFUP: SSL Check Point Endpoint)
- VPN - Windows 7 (Manual Configuration)
- VPN - Ubuntu (Manual Configuration)
- VPN - Ubuntu (FEUP Manual Configuration: PPTP)
- Wi-Fi
-
Information System
- Accessing your personal page
- Accessing Course Unit Fact Sheets
- Updating Personal Data
- Authentication (Login)
- Configuring your personal data
- Confirm Personal Data
- Viewing your current account
- Viewing your timetable
- Viewing your academic path
- Consulting Periods of Limitation
- Creating a multipurpose declaration
- Inserir/Alterar Fotografia
- Integration of Course Units with Moodle and Microsoft Teams
- Requesting a certificate
- Requesting a digital certificate
- Requesting a [email protected] Pass
- Software
-
Cyber Security
- Report Incident
-
Computer Security and Privacy
- Antivirus
- IT Security Audit
- Client Digital Certificates - Sign Email Messages
- Client Digital Certificates - Digital Signing of Documents (Non-Qualified Digital Signature)
- Client Digital Certificates - Install
- Client Digital Certificates - Obtaining a Certificate
- Client Digital Certificates - Revocation
- Digital Certificates for Servers
- Policies and Good Practices
- Data Protection
- Tutorials
- Help and Support
- Contacts

Installing the Check Point® Capsule VPN
-
On the Windows 10 search box, write "microsoft store" and select the respective option to access it.
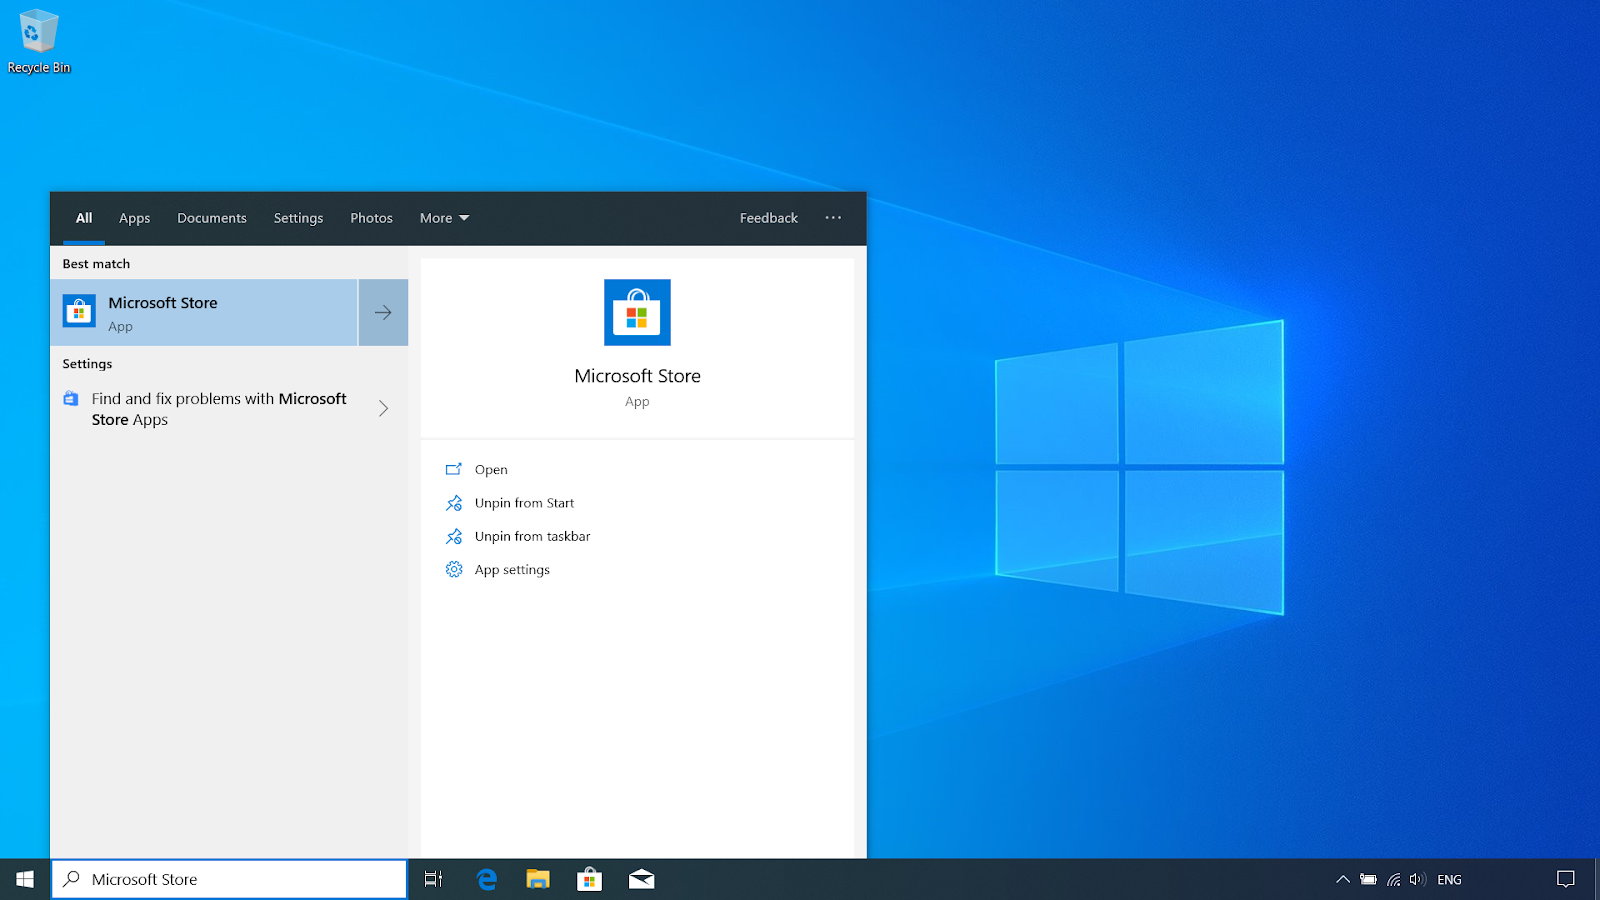
Windows Search box
-
In Microsoft Store, write "check point capsule vpn" in the search box and select the respective application;

Microsoft Store Search box
-
Select the "Install" option to start installing the application;
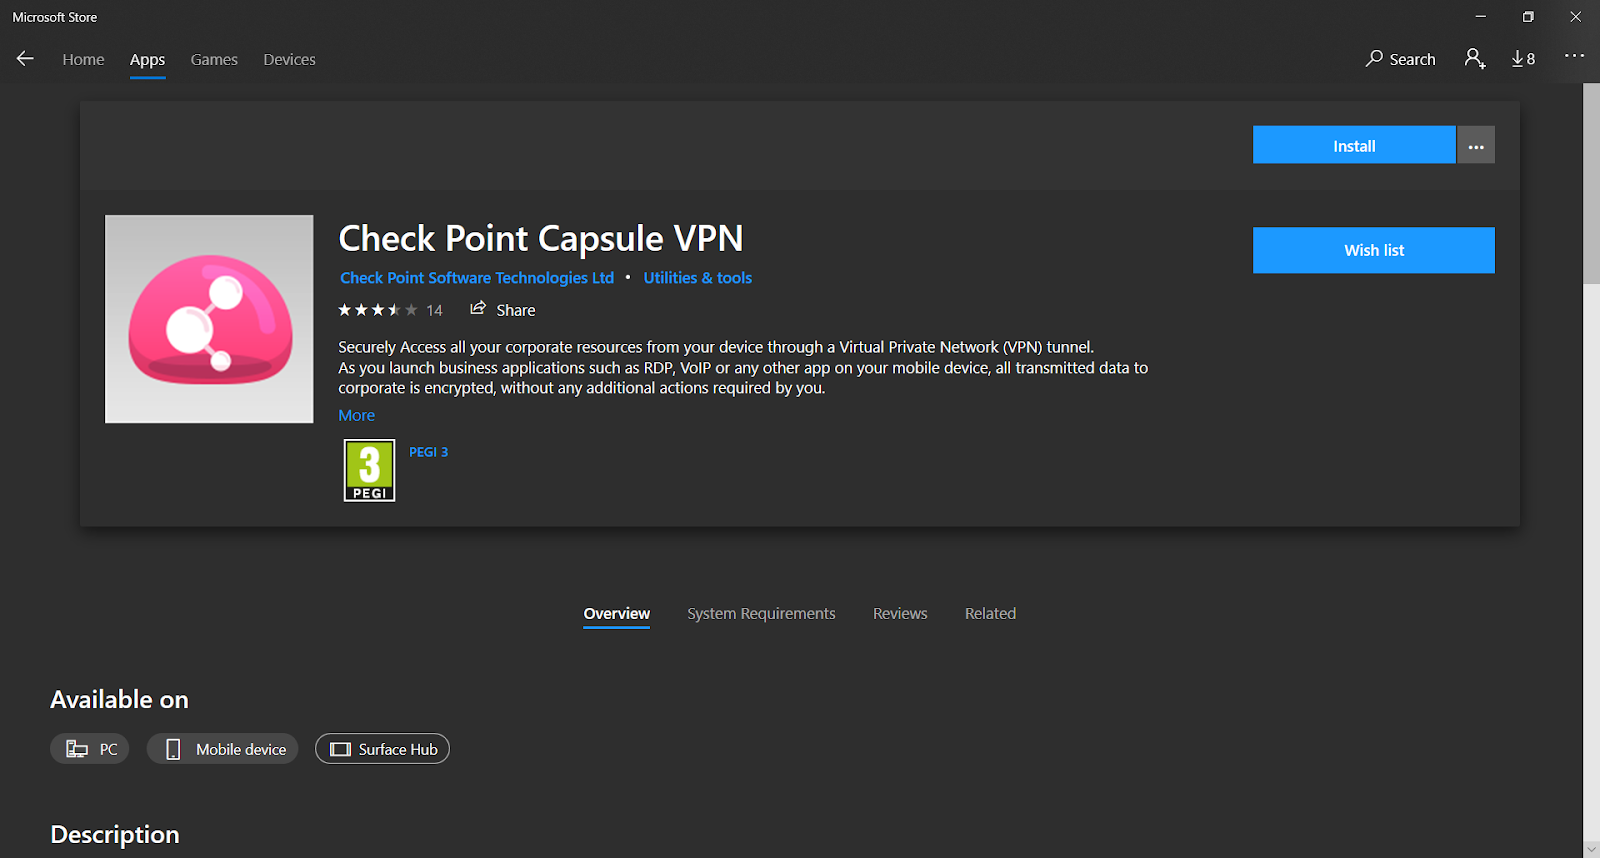
"Install" Option
-
If the authentication window of the Microsoft account appears, please sign in. If you would like to ignore this procedure, close the window and proceed to the installation;
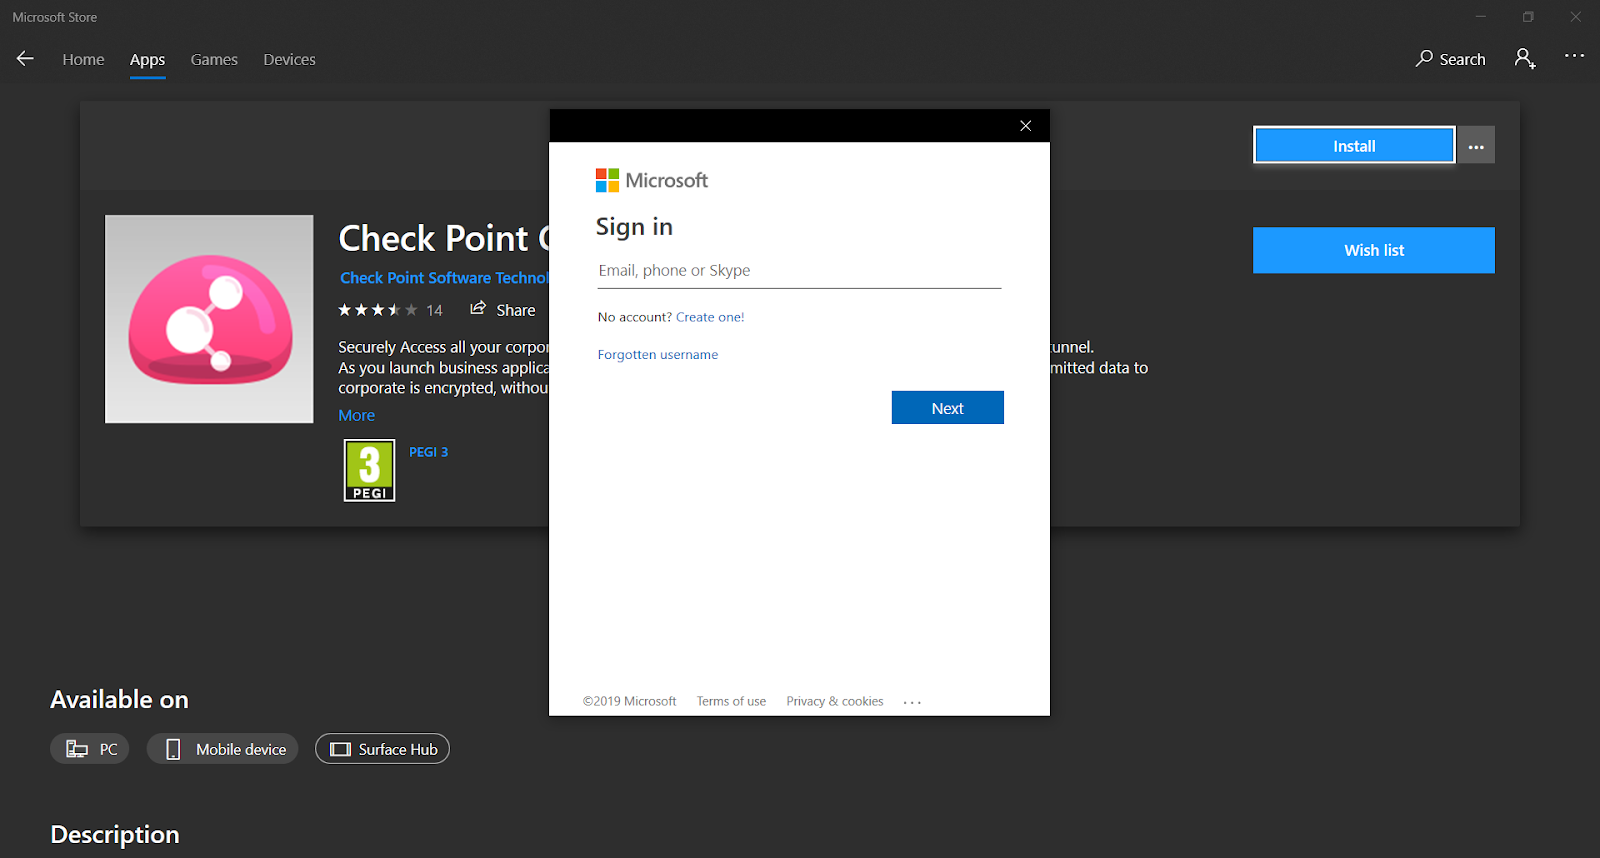
Authentication Window of the Microsoft® Account
-
After finishing the installation, you can execute the application to get information on how to use it;
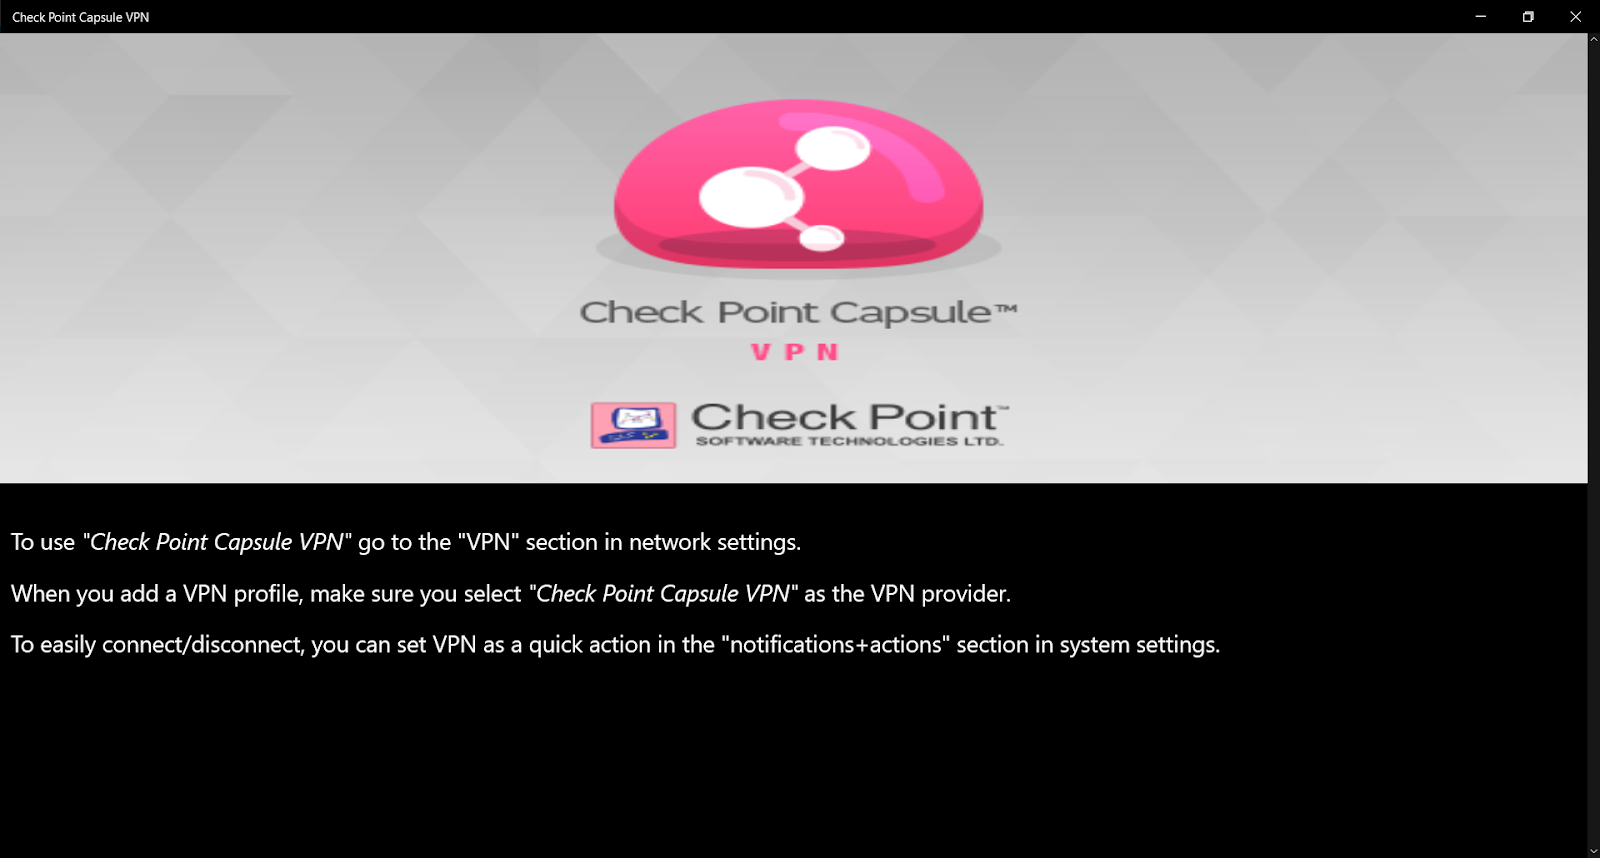
Executing the application
Configuration
-
In Windows 10, write "Settings" in the search box and select the respective option to access it;
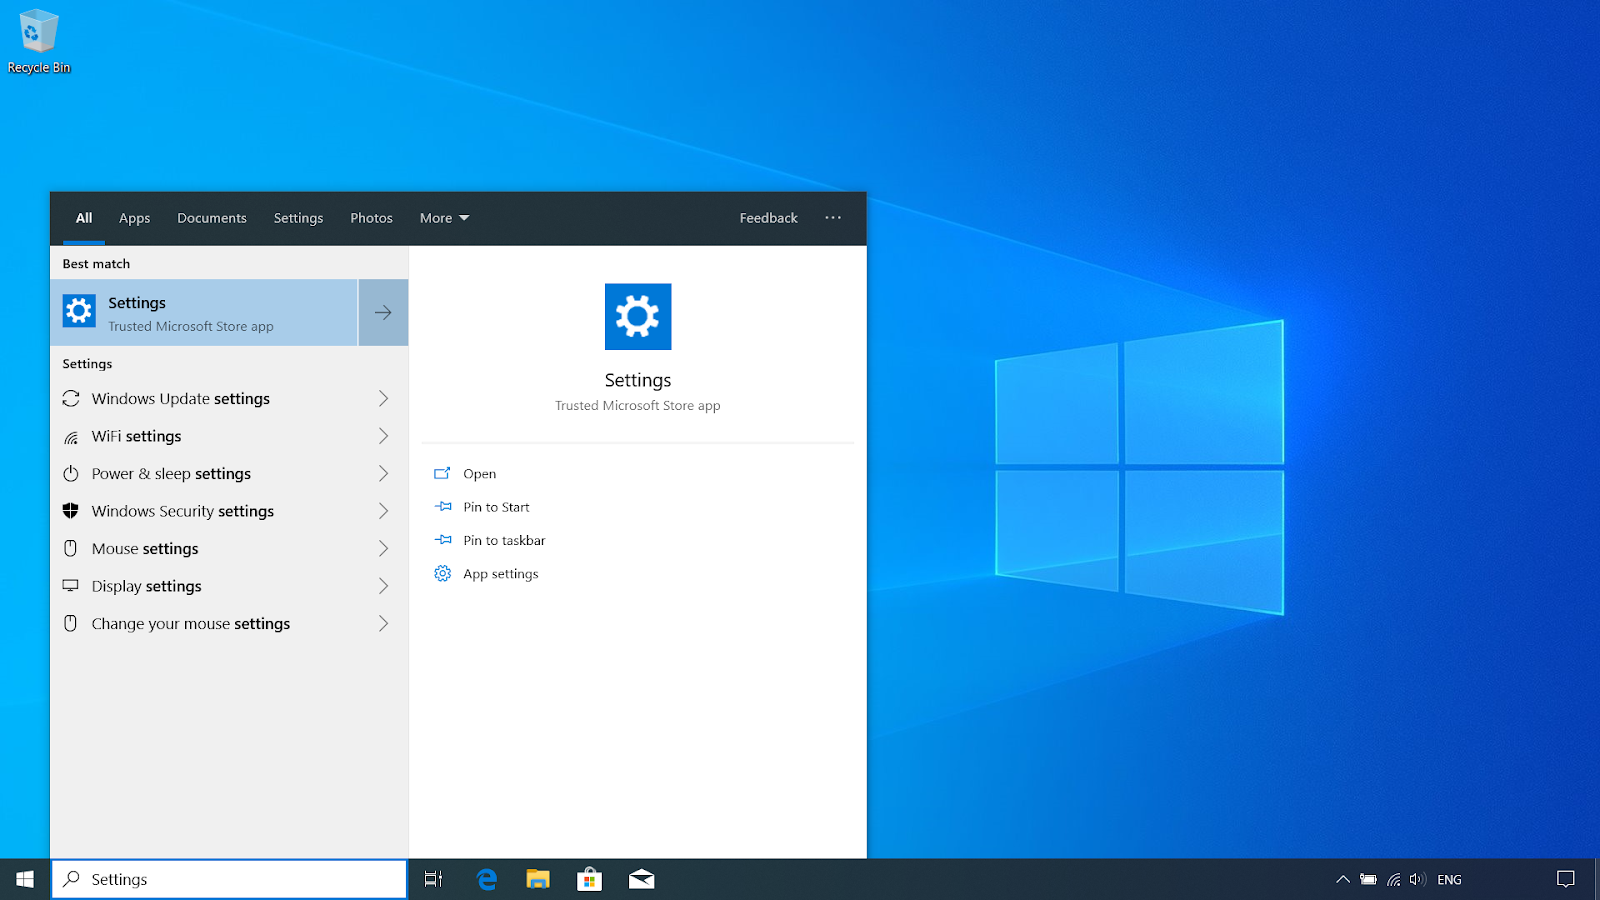
Search box in Windows 10
-
Search box in Windows 10 ;
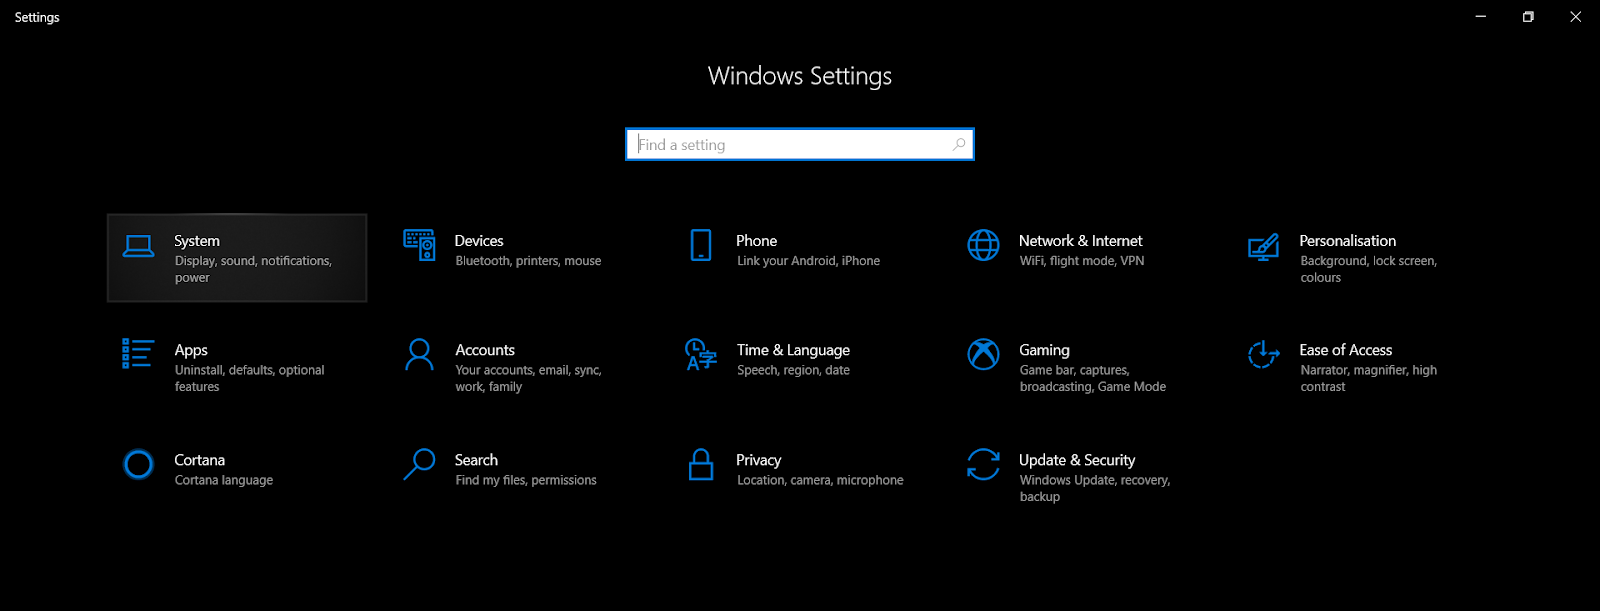
Windows 10 Settings
-
Select the "VPN" option;
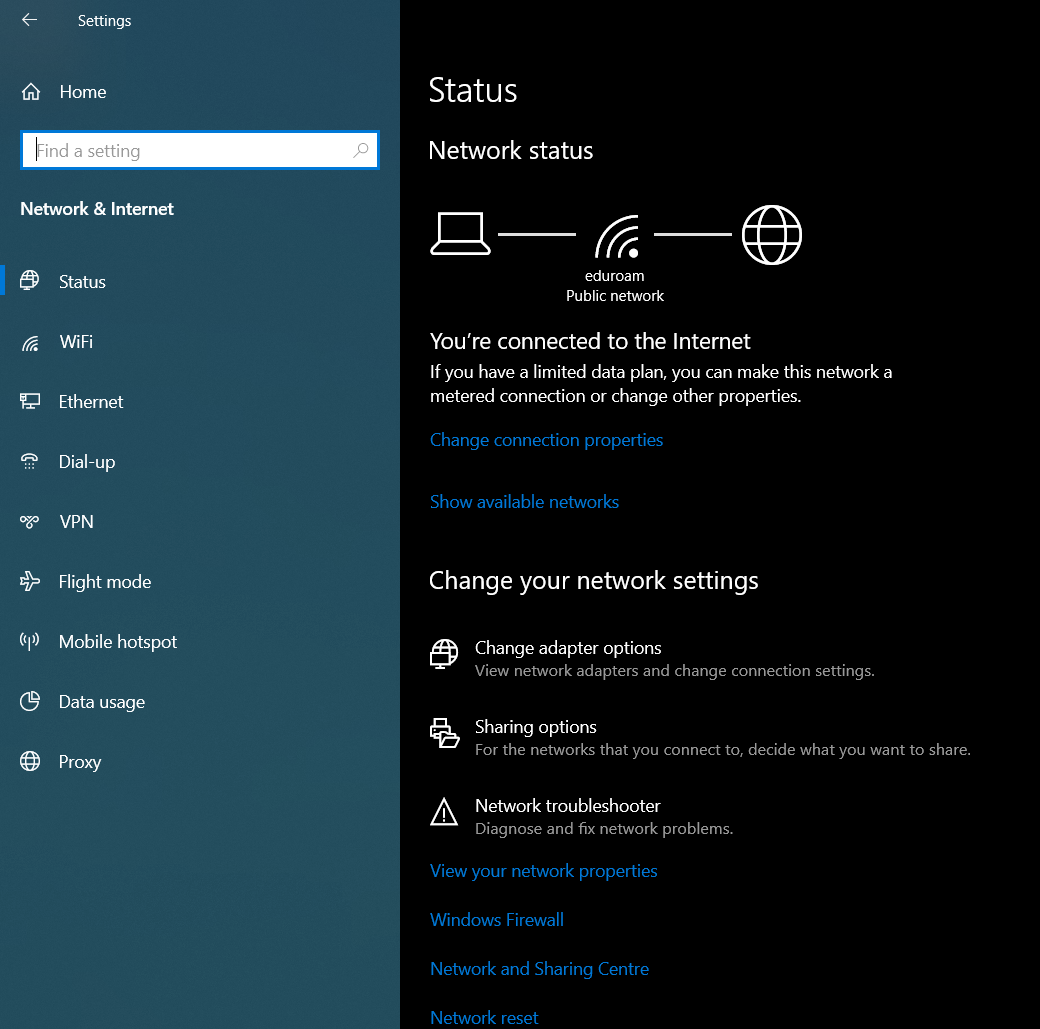
"Network and Internet" tab
-
Select the option "Add a VPN connection";
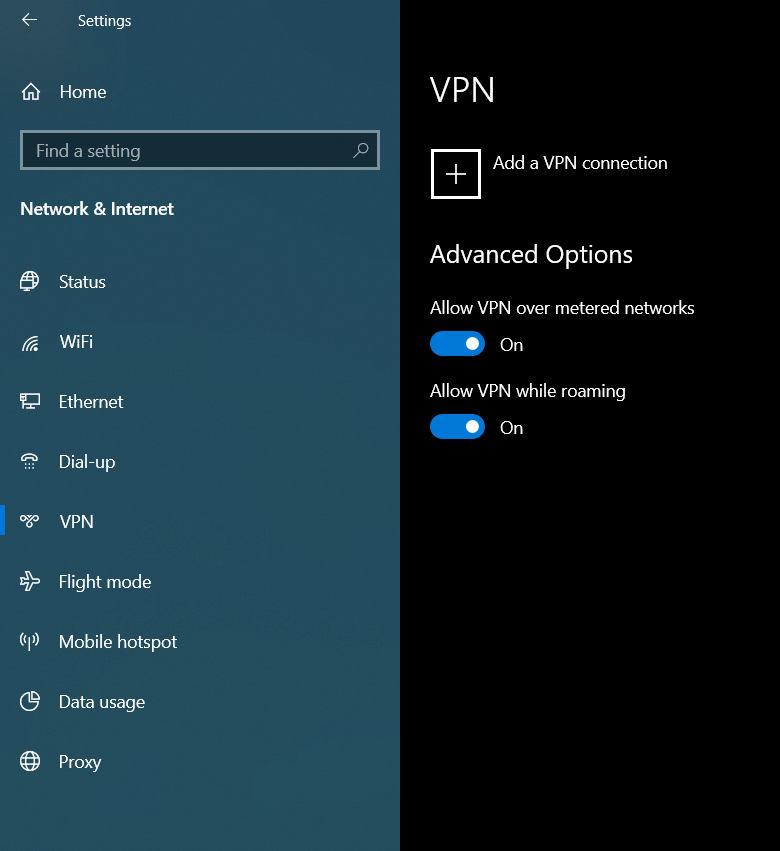
"VPN" tab
-
In the "Add a VPN connection" window, configure according to the following options:
VPN Provider: Check Point Capsule VPN;
Connection : VPN FEUP SSL;
Name or server adress: vpn.fe.up.pt;
Type of sign-in info: Username and password
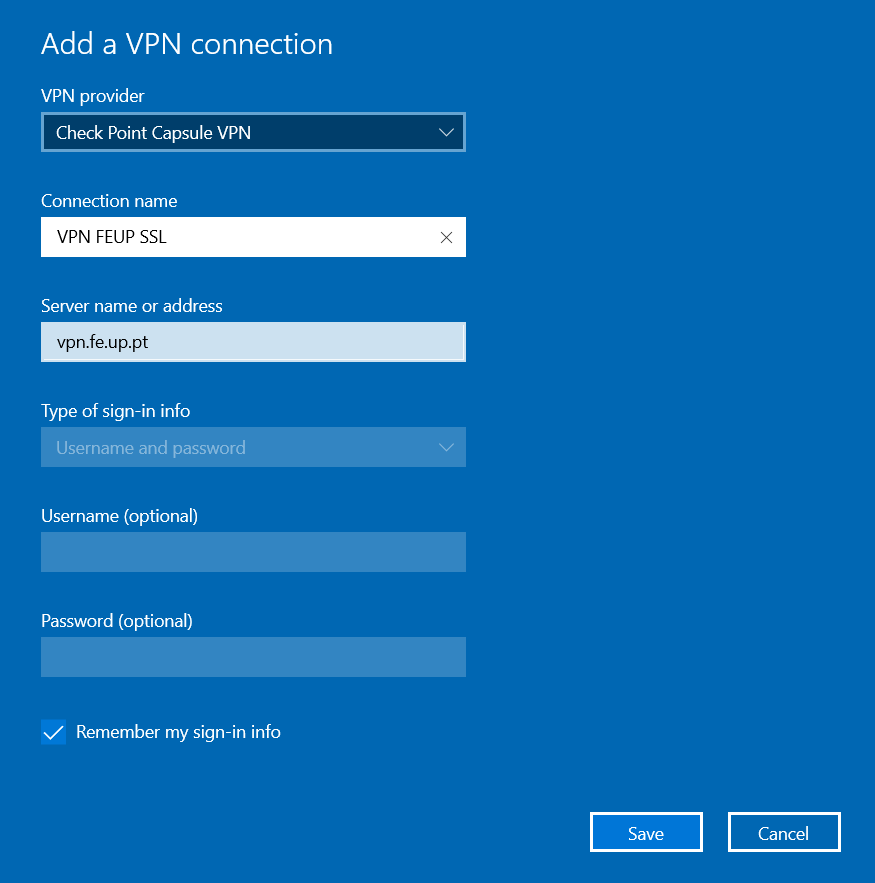
"Adding a VPN connection" Window
-
Select the "Save" option.
Connecting to the VPN
-
In the "Settings" of Windows 10, select "Network and Internet" and go to the "VPN" tab. On the VPN connection created, select "Connect";
-
When selecting "Connect" for the first time, you will need to select the authentication method;
-
Select the option "Username and password" by default;
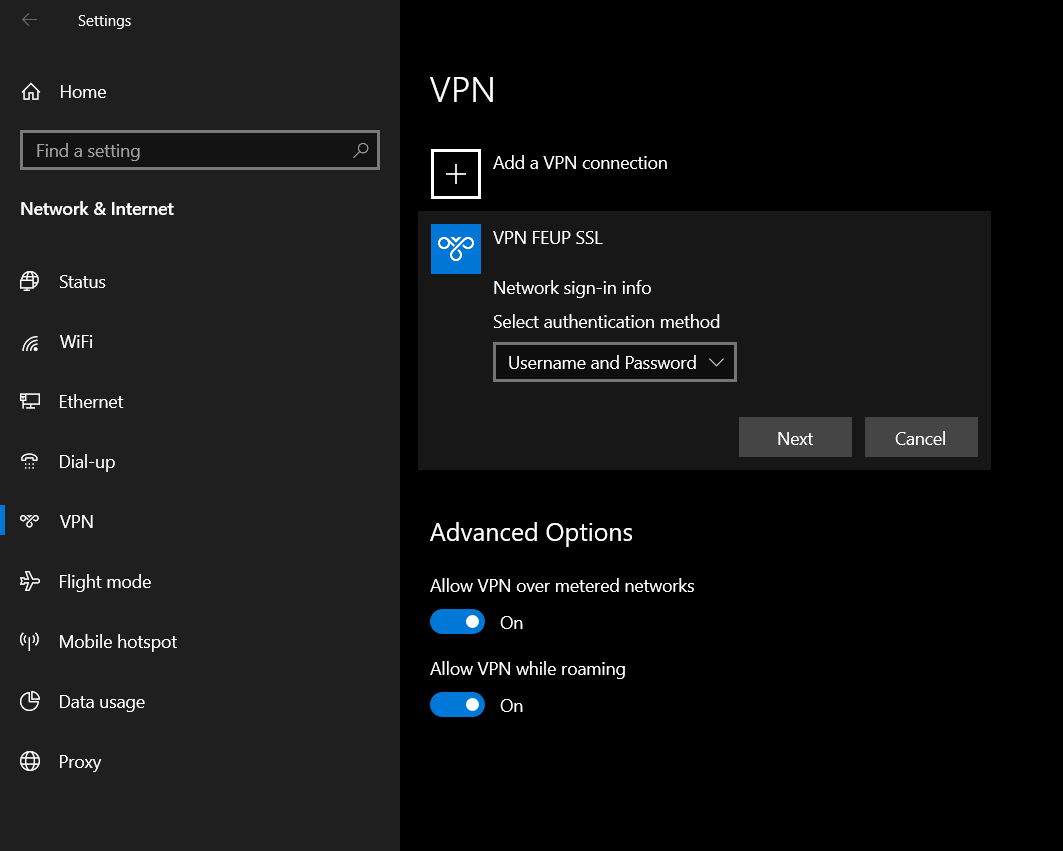
"VPN" Tab in "Network and Internet"
-
In the "Windows Security" window, insert your Information System user, when requested, in the form up[123456789]@[institution].up.pt[ 1 ] and the password of the Information System.

"Windows Security" Window
-
Select "OK";
-
If the connection is established correctly, the status is described as "Connected";
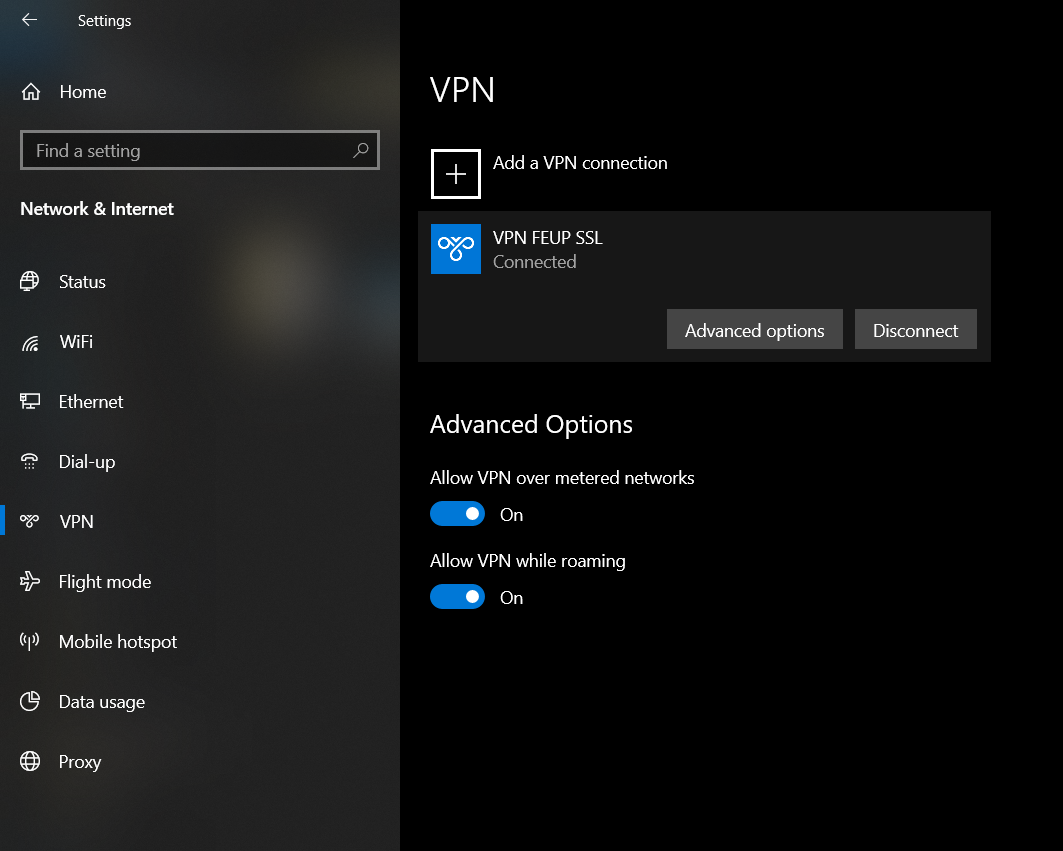
Connection Status
-
To establish a connection in the future, you can select the network connections icon, select the VPN connection and confirm by selecting "Connect".
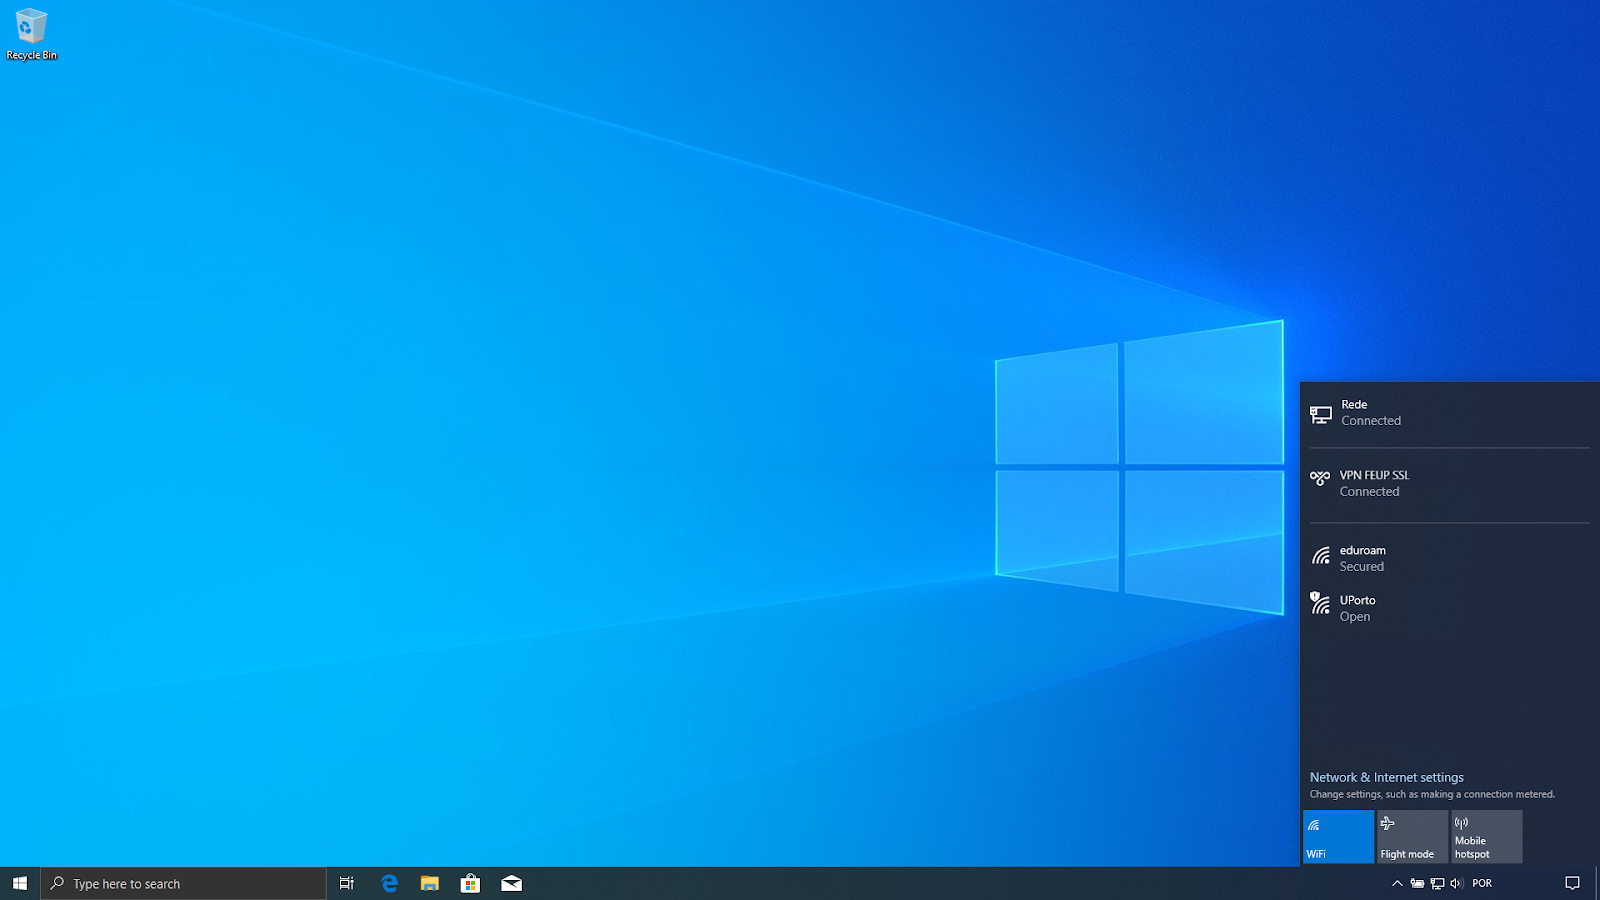
Connecting to VPN
Notes
- The numbers represent your student/mechanographic number and "institution" represents your home institution (cdup, arq, fade, fba, fc, fcna, direito, fe, fep, ff, fmd, fpce, icbas, letras, med, reit, sas or sp).
More information:
Unit of Infrastructure and Network
E-mail: [email protected]