Content for students

Installing the Check Point® Endpoint Security VPN
-
Download the Endpoint Security VPN Client (SSL).
Version E87.41 | macOS 10.15, 11, 12 and 13 | Checksum: SHA1 ec280b9d9b52af1b1705c5e648d812c2f28368a7 -
Execute it
-
Select the "Continue" option when asked if you want to execute the installation programme.
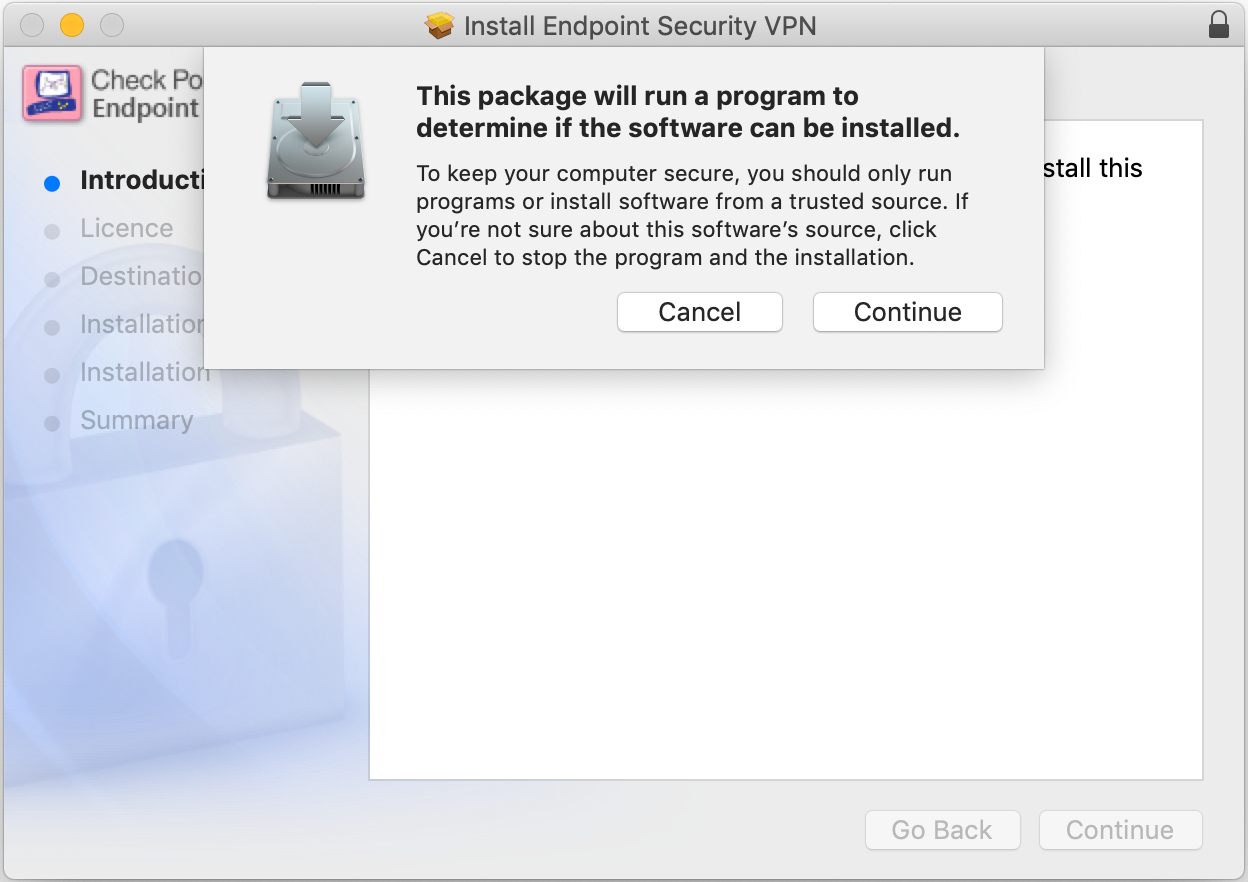
Executing SSL Mac Client
-
Select the option "Continue";
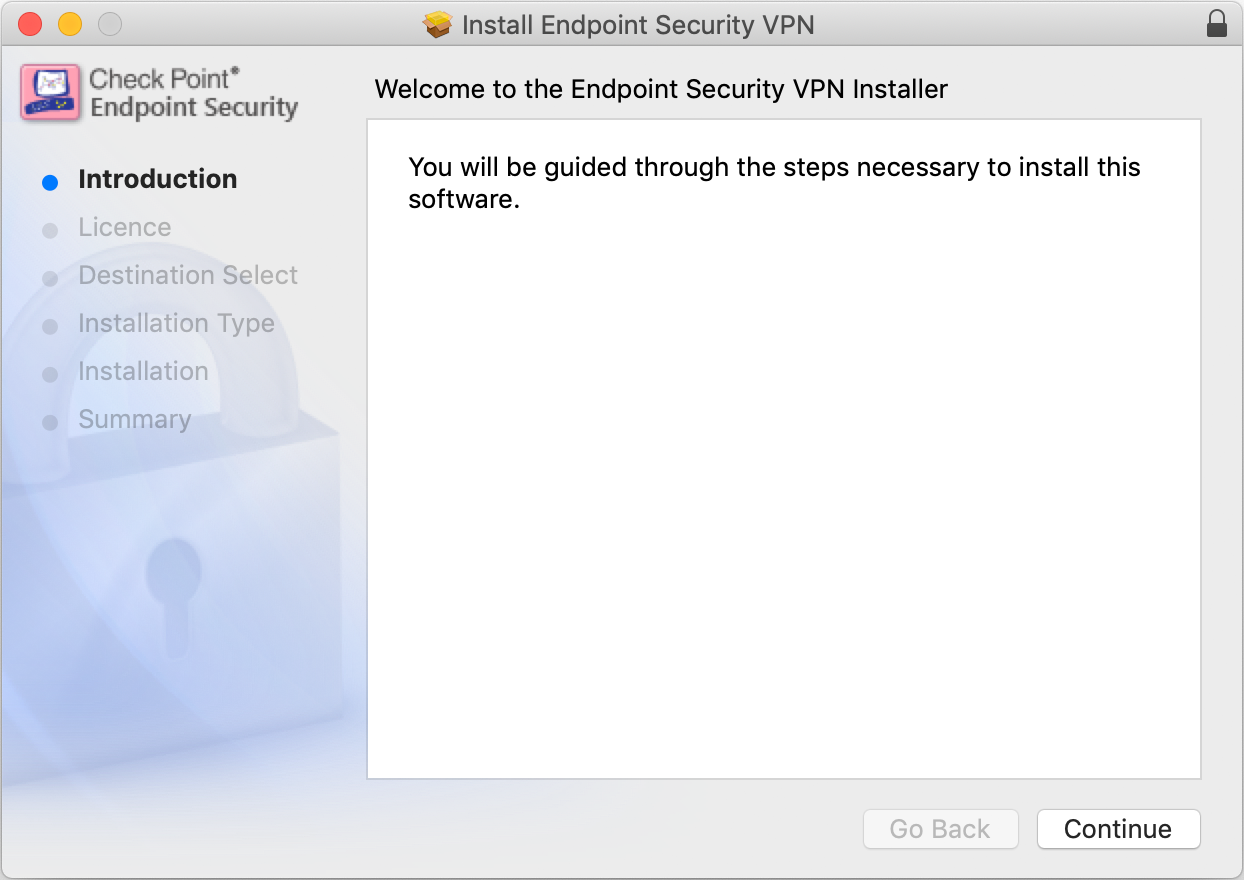
"Continue" Option
-
Select the "Agree" option;
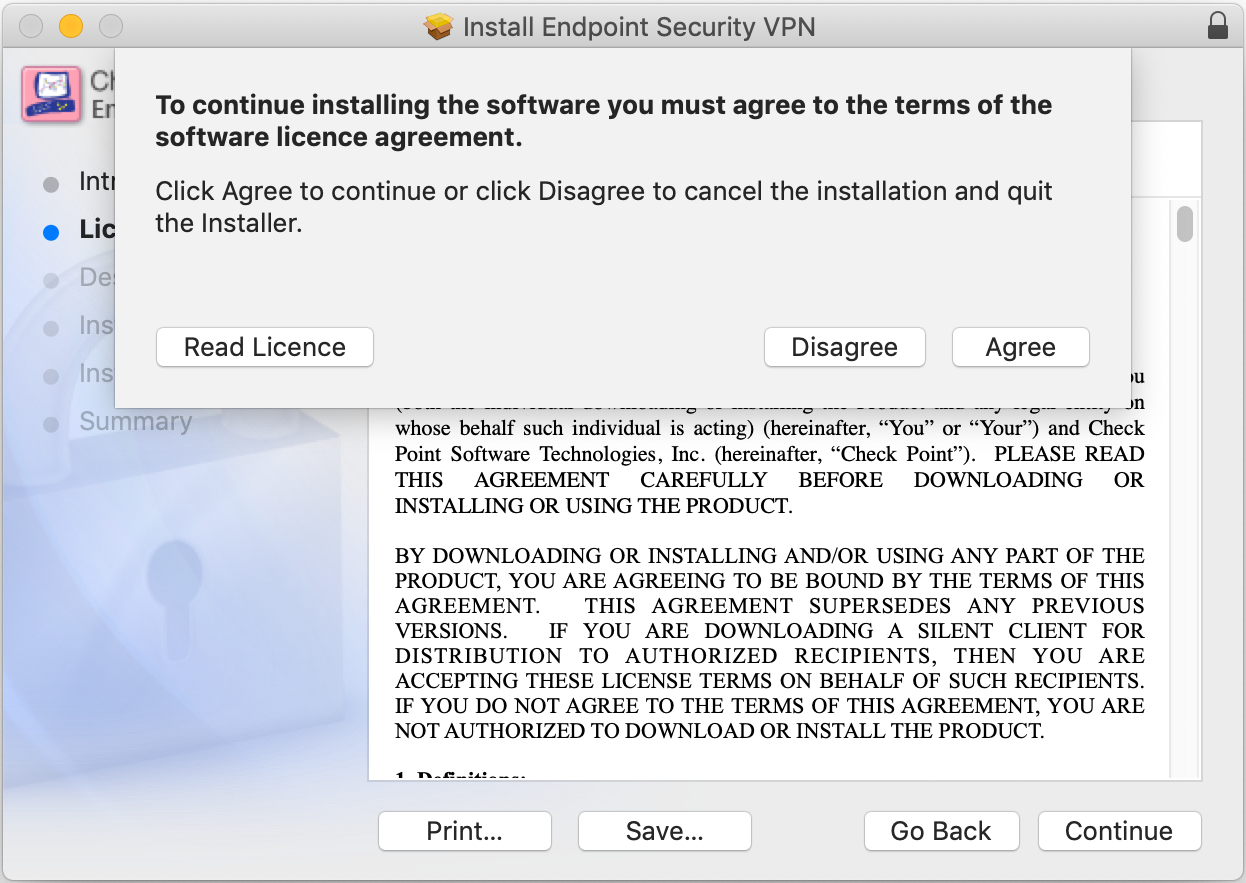
"Agree" Option
-
Select the "Continue" option;
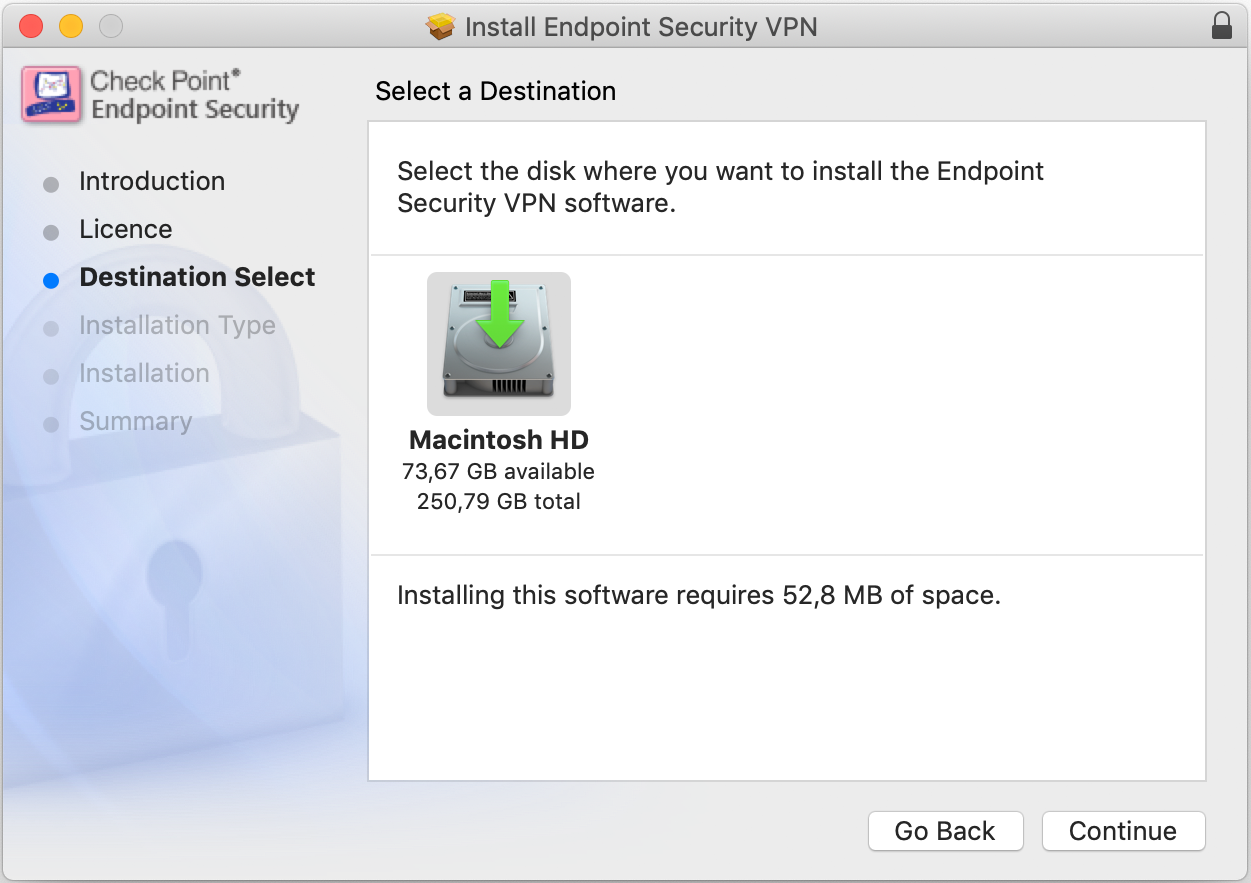
"Continue" Option
-
Select the "Install" option;
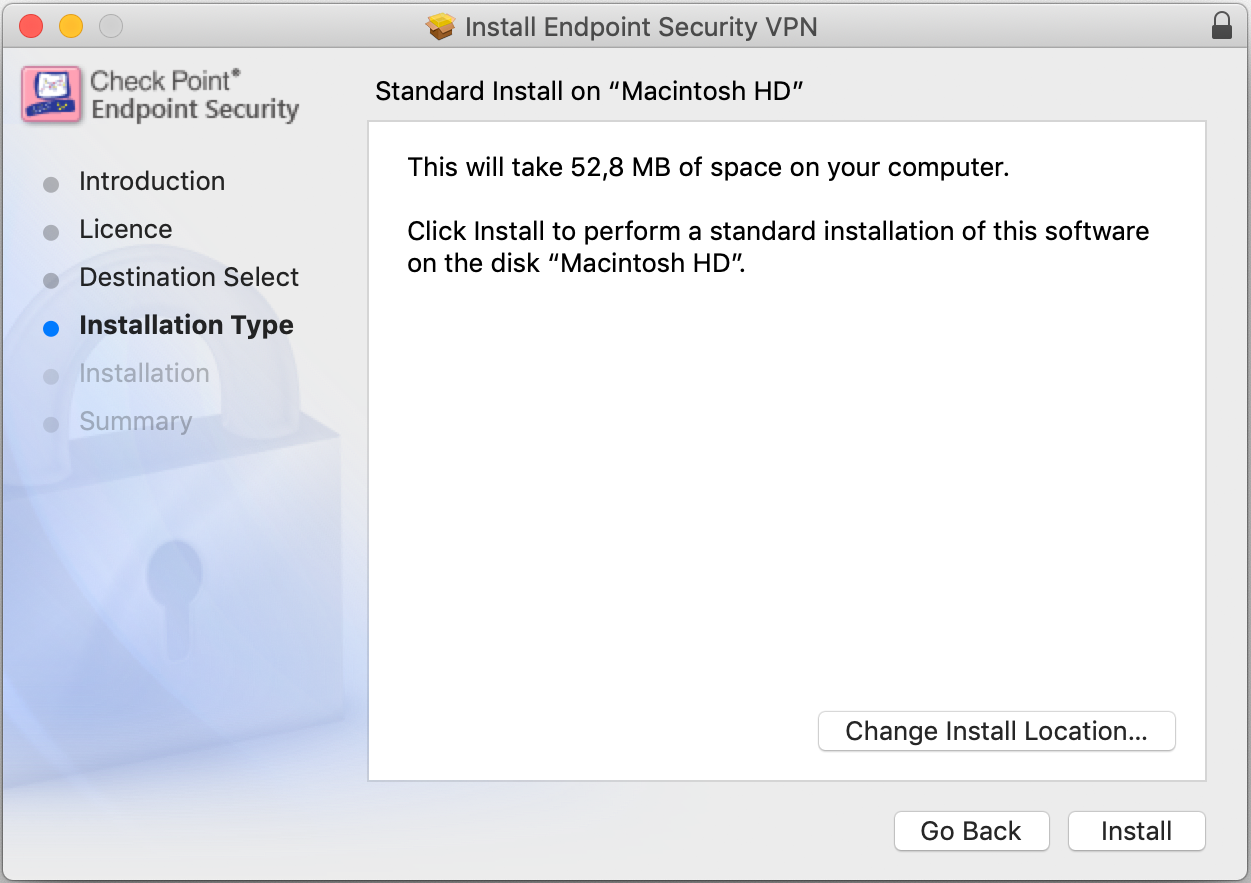
"Install" Option
-
When requested, insert the Mac administrator's "Username" and "Password" and select "OK";
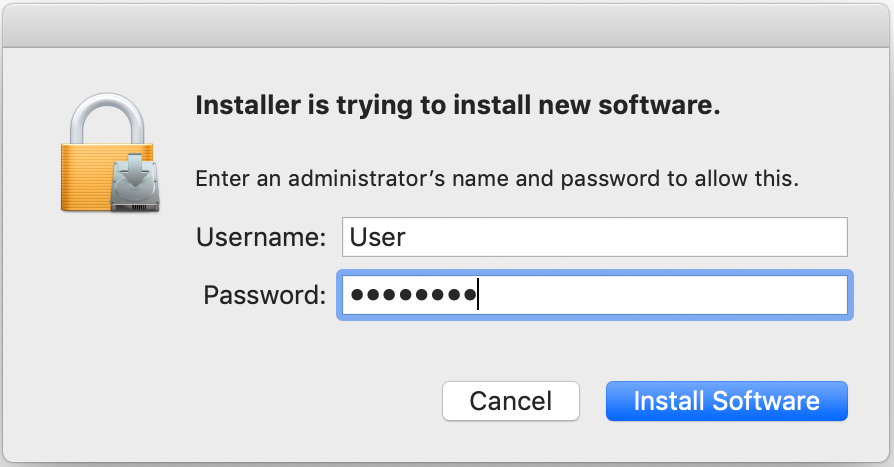
Mac administrator's credentials
-
If you see a notice about the optimization of the application, please select "OK";
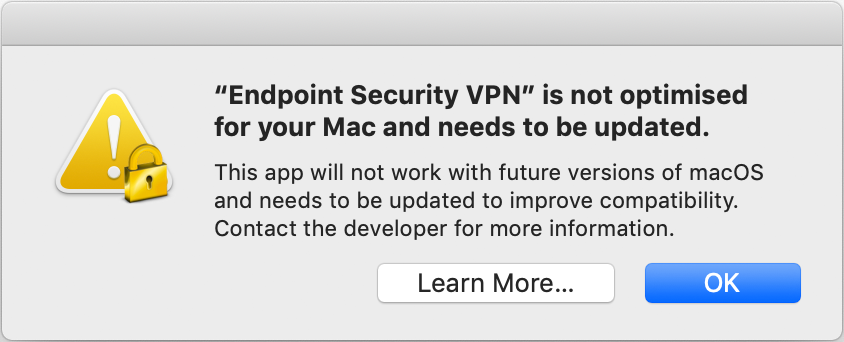
Notice about the optimization of the application
-
Select "Close" when the installation finishes;
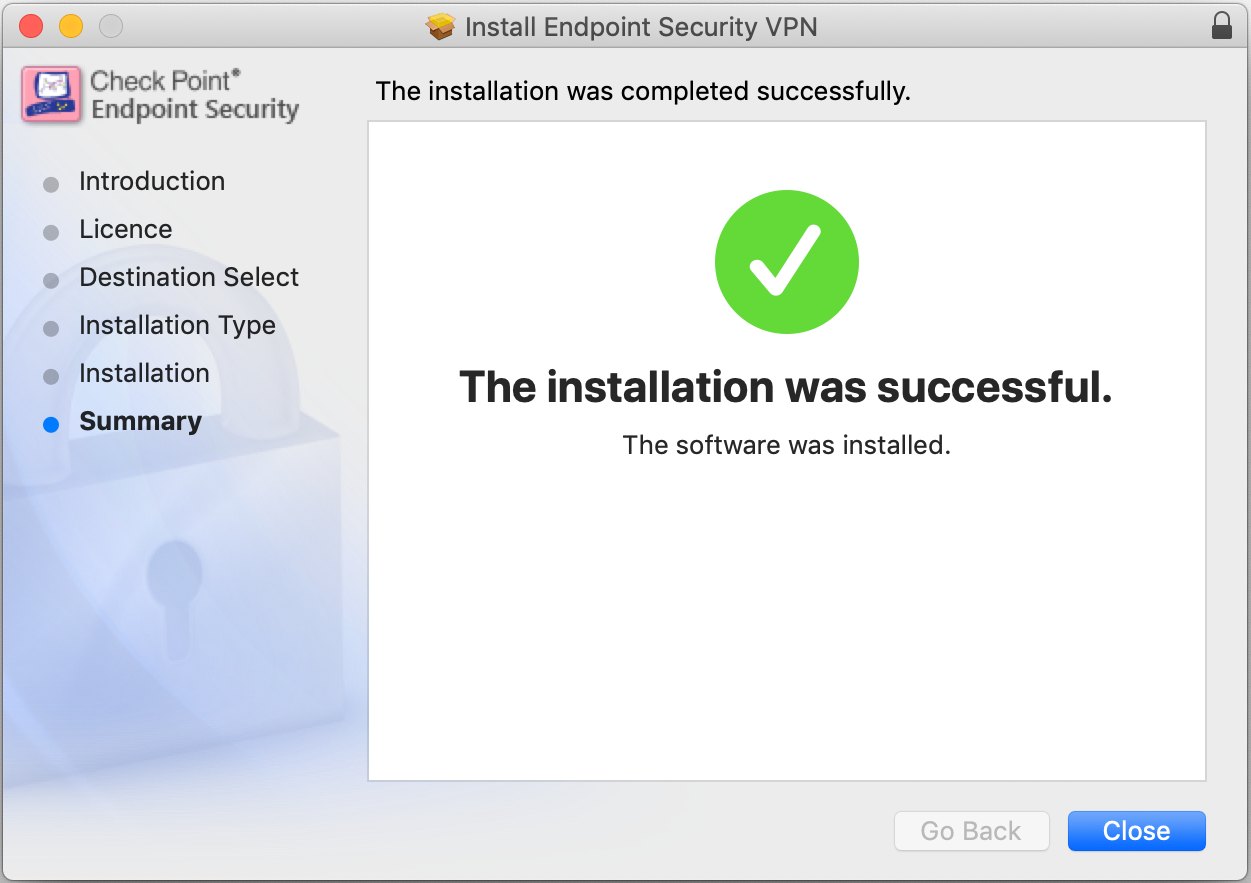
Installation complete
Configuration
-
On Mac's desktop, select the option "Connect" after clicking on the Check Point Endpoint icon in the notifications area;

Mac desktop
-
Select "Yes" to configure a new VPN connection;

Configuration of a new VPN connection
-
Select "Next" to proceed to the configuration of a new VPN connection;

Configuration of a new VPN connection
-
Configure according to the following options :
Server address or Name: vpn.fe.up.pt
Display name: VPN FEUP SSL
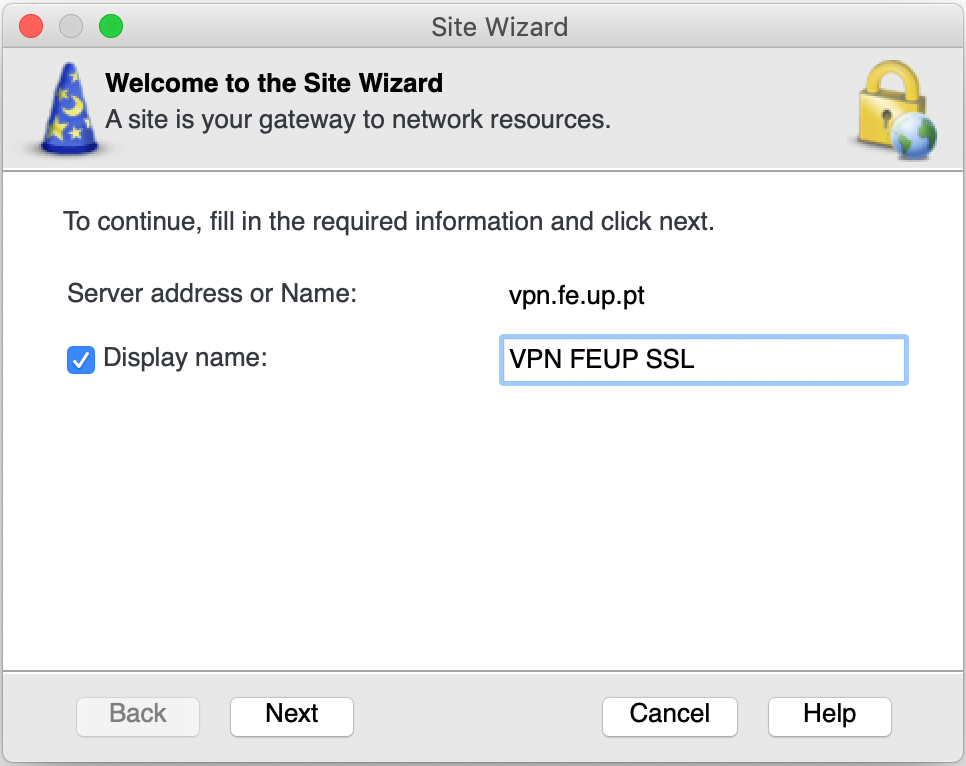
Configuration of a new VPN connection
-
Select "Next";
-
Select "OK" to accept the certificate and proceed to the configuration;
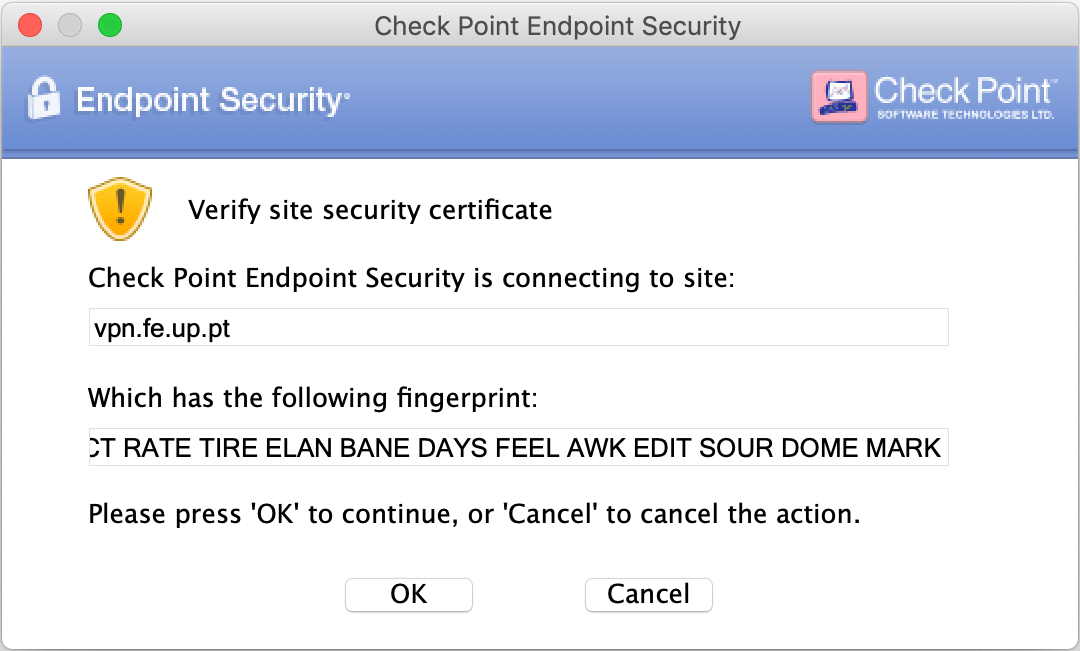
Accepting the certificate
-
In the "Authentication Method" window, select the option "Username and Password" and then select "Next";
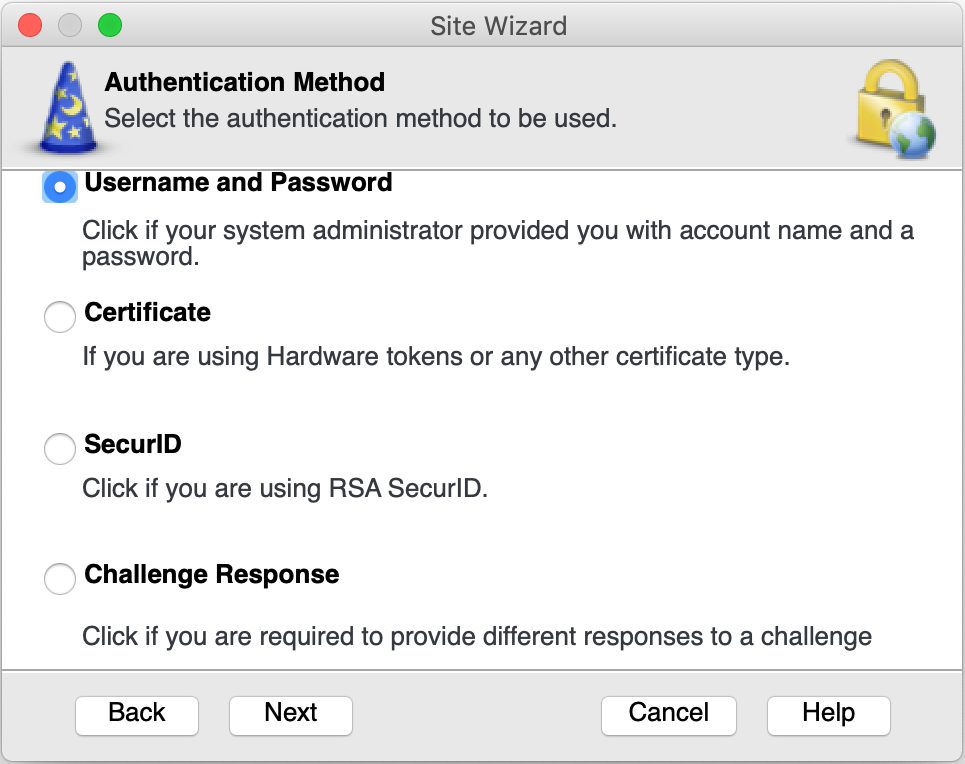
"Authentication Method" window
-
Select "Finish" to conclude the creation of the VPN connection;

Completing the VPN connection
Connecting to the VPN
-
If you would like to establish a connection, select "Yes";

Connect to VPN?
-
In the authentication screen, insert your Information System username, when requested, in the form up[123456789]@[institution].up.pt[ 1 ] and the password of the Information System;
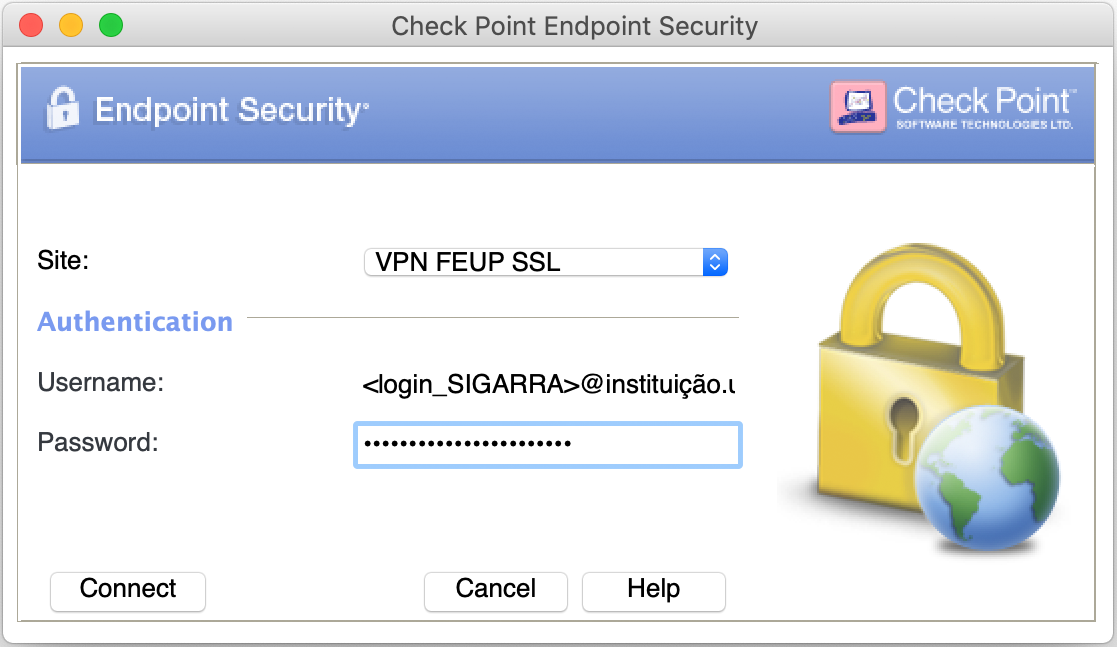
Authentication Screen
-
Select "Connect";
-
If the connection is established, the status is described as "Connected" and the icon will appear in the notifications area.
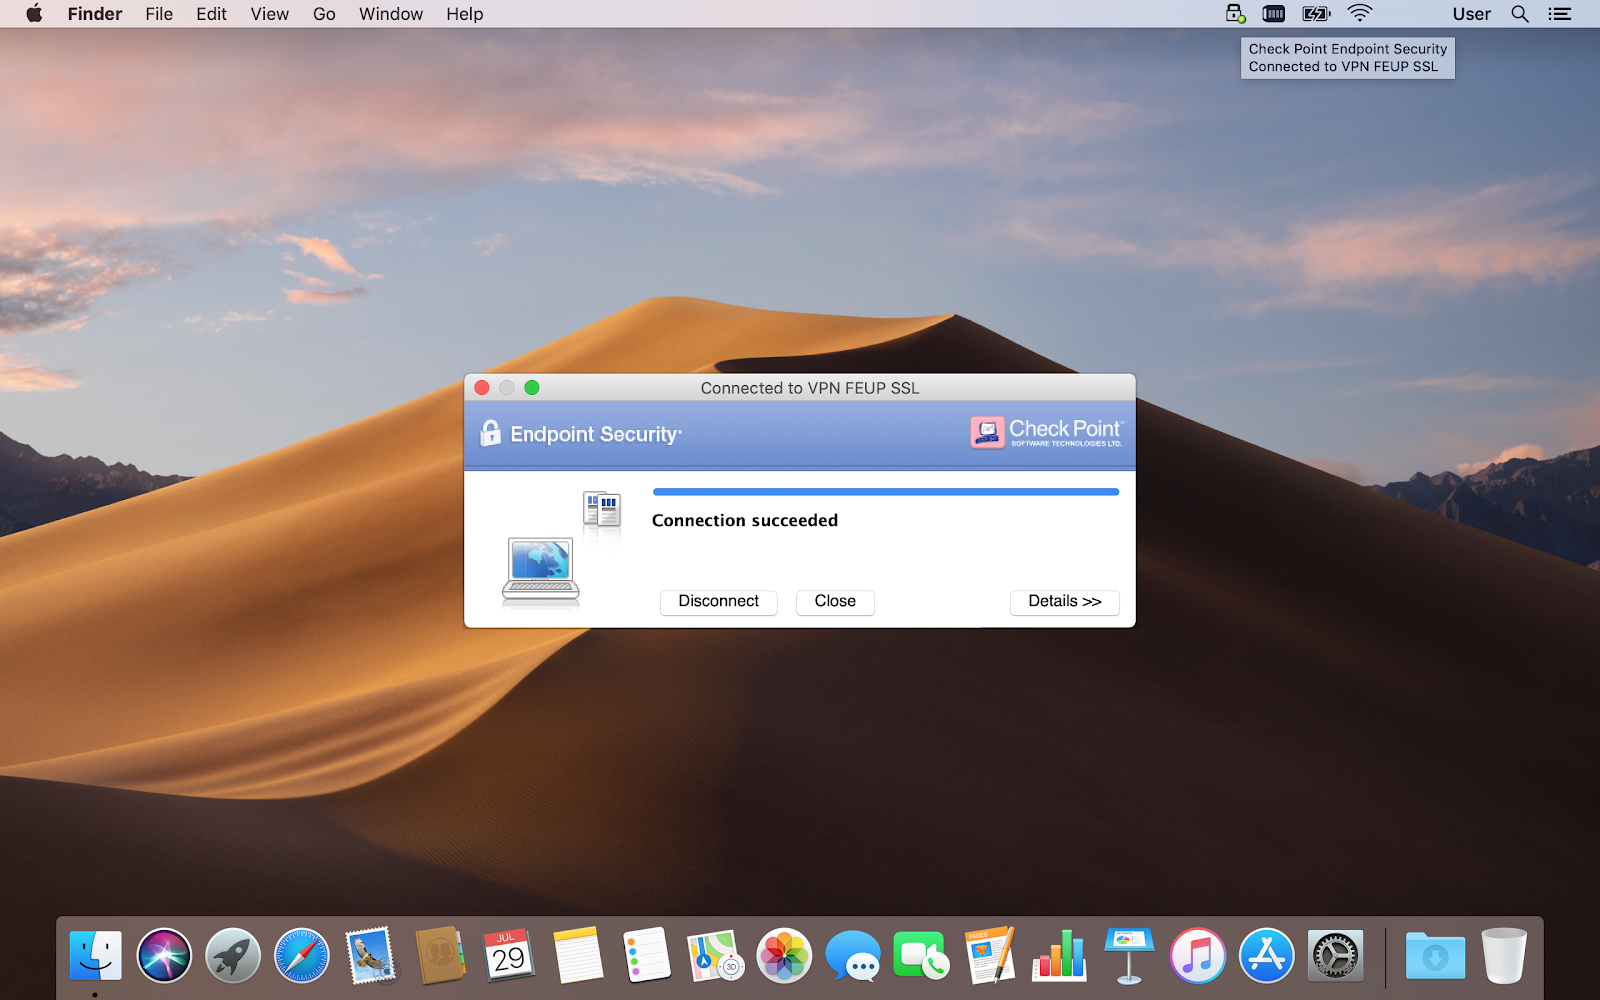
Connected Status
-
To use the VPN connection again, you can select the "Check Point Endpoint Security" icon in the menu bar, choose a VPN connection and select "Connect".
Notes
- The numbers represent your student/mechanographic number and "institution" represents your home institution (cdup, arq, fade, fba, fc, fcna, direito, fe, fep, ff, fmd, fpce, icbas, letras, med, reit, sas or sp)
More information:
Unit of Infrastructure and Network
E-mail: [email protected]
