-

- About UPdigital
-
IT Services
- IT Services Directory
- Accessibility and Disability
- Web Apps
- Teaching Support
- Archives, Libraries and Repositories
- U.Porto Card
-
Accounts and Passwords
- Web Hosting
- Change/Recover Password
- Institutional Authentication
- Configure Forwarding in Microsoft Outlook 365
- Email Account (Lecturers and Staff)
- Email Account (Students)
- Google for Education
- HPC and Grid Computing
- Virtual Machines to Support Teaching and Research
- Microsoft Office 365 (Lecturers and Staff)
- Microsoft Office 365 (Students)
- Email Service
-
Printing
- Logging In to Printing Devices
- Load Quota
- Copying
- Scanning
- Web Printing
- Printing (Release Jobs to Print Devices)
- Printing From Institutional Equipment (Using PaperCut MF Client)
- Printing From Personal Devices (Installing Mobility Print)
- Printing From Personal Devices with Linux Operating System (Installing Mobility Print)
- Pricing
- Printing Service
- Website of the Printing Service
-
Networks and Connectivity
- Mobile Communications
- Wired Network
- Telephony (VoIP)
- VPN - Android (Manual Configuration)
- VPN - Android (FEUP Manual Configuration: SSL Check Point® Capsule)
- VPN - iOS (Automatic Configuration)
- VPN - iOS (Manual Configuration)
- VPN - iOS (FEUP Manual Configuration: SSL Check Point Capsule)
- VPN - Mac (Automatic Configuration)
- VPN - Mac (Manual Configuration)
- VPN - Mac (FEUP Manual Configuration: SSL Check Point Endpoint)
- VPN - Windows (Automatic Configuration)
- VPN - Windows 10 (Manual Configuration)
- VPN - Windows 10 (FEUP Manual Configuration: SSL Check Point Capsule)
- VPN - Windows 10 and 11 (Manual Configuration ICBAS and FFUP: SSL Check Point Endpoint)
- VPN - Windows 7 (Manual Configuration)
- VPN - Ubuntu (Manual Configuration)
- VPN - Ubuntu (FEUP Manual Configuration: PPTP)
- Wi-Fi
-
Information System
- Accessing your personal page
- Accessing Course Unit Fact Sheets
- Updating Personal Data
- Authentication (Login)
- Configuring your personal data
- Confirm Personal Data
- Viewing your current account
- Viewing your timetable
- Viewing your academic path
- Consulting Periods of Limitation
- Creating a multipurpose declaration
- Inserir/Alterar Fotografia
- Integration of Course Units with Moodle and Microsoft Teams
- Requesting a certificate
- Requesting a digital certificate
- Requesting a [email protected] Pass
- Software
-
Cyber Security
- Report Incident
-
Computer Security and Privacy
- Antivirus
- IT Security Audit
- Client Digital Certificates - Sign Email Messages
- Client Digital Certificates - Digital Signing of Documents (Non-Qualified Digital Signature)
- Client Digital Certificates - Install
- Client Digital Certificates - Obtaining a Certificate
- Client Digital Certificates - Revocation
- Digital Certificates for Servers
- Policies and Good Practices
- Data Protection
- Tutorials
- Help and Support
- Contacts
-
Select "Email" on the screen showing the different services available. This option will send the scanned document to an email address.

Selecting "Email"
-
You can choose your institutional email by selecting "Add Me..."
-
To send to other email addresses, select "Enter Recipient..."
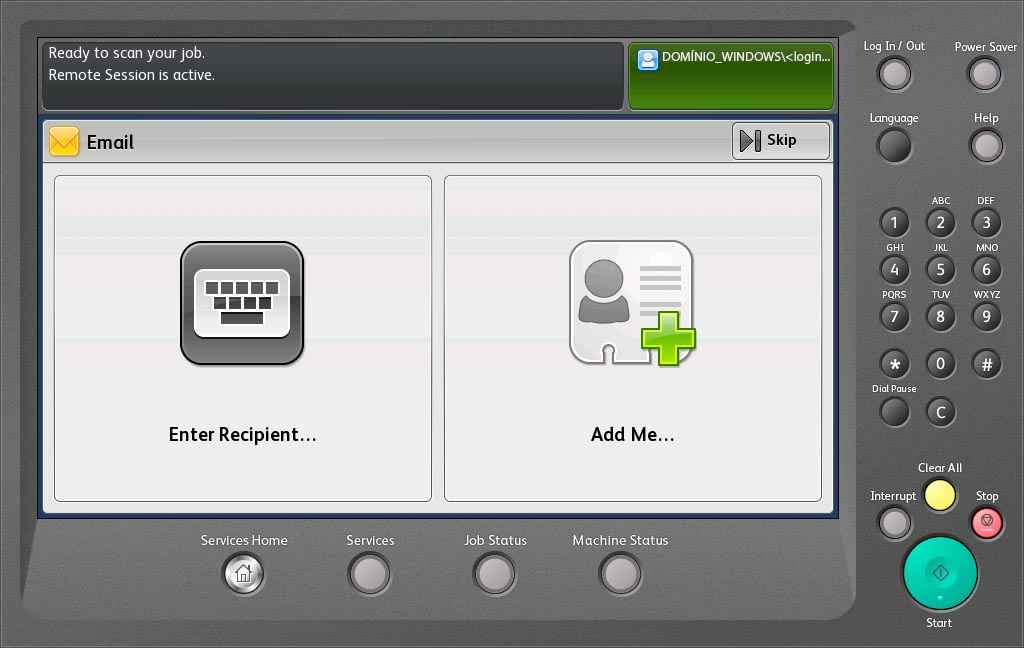
Selecting the desired email
-
The screen with the scan and delivery options appears.
-
If you want to add more recipients, select "Add Recipient..."
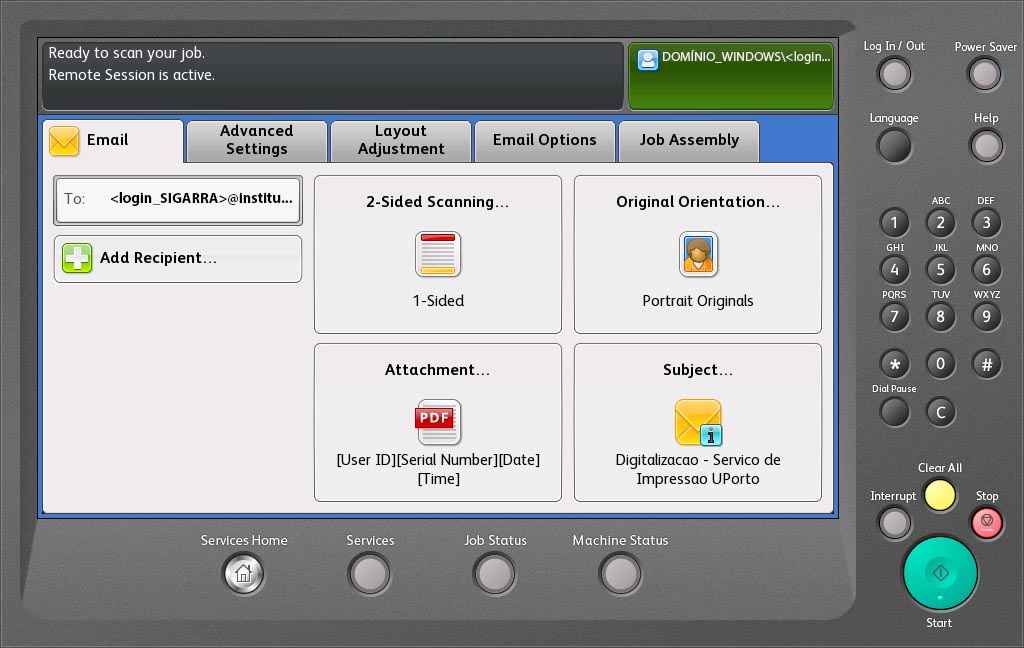
Adding more recipients
-
Use the virtual keyboard to insert the email addresses of the other recipients and click on "Add".
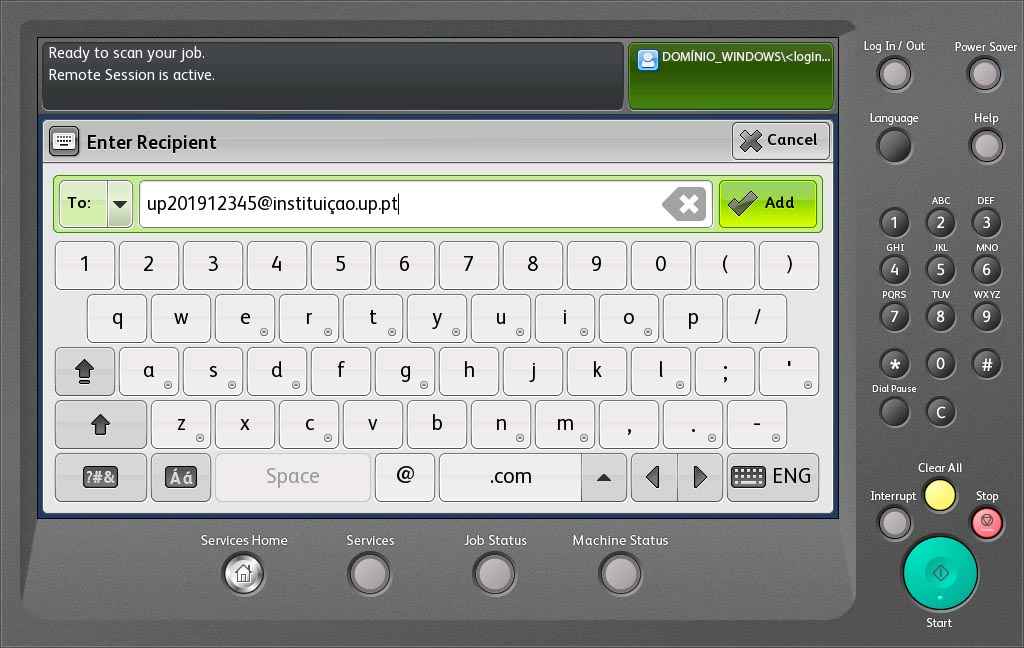
Inserting the recipient's email
-
You can then change the scan and delivery options, namely the type (1 side or double-sided scanning), orientation of the original (portrait or landscape), attachment (format and name) and the subject of the email with the attached scan.
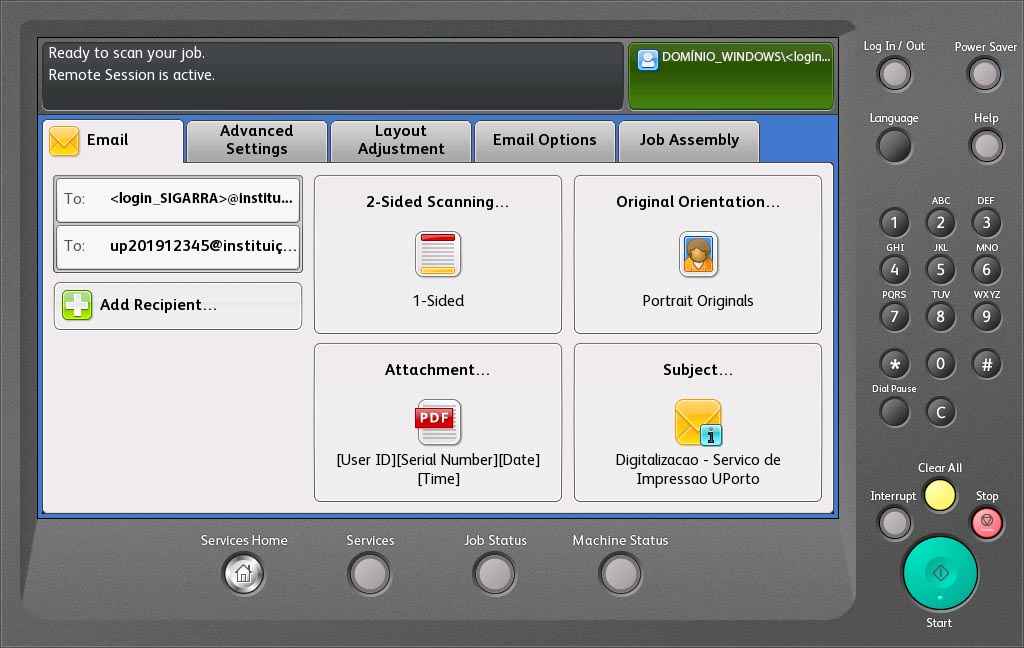
Scan options
-
On the "Advanced Settings" tab, you can select the colour, the original document type, image improvement options, brightness, level of sharpness, saturation, resolution, etc.
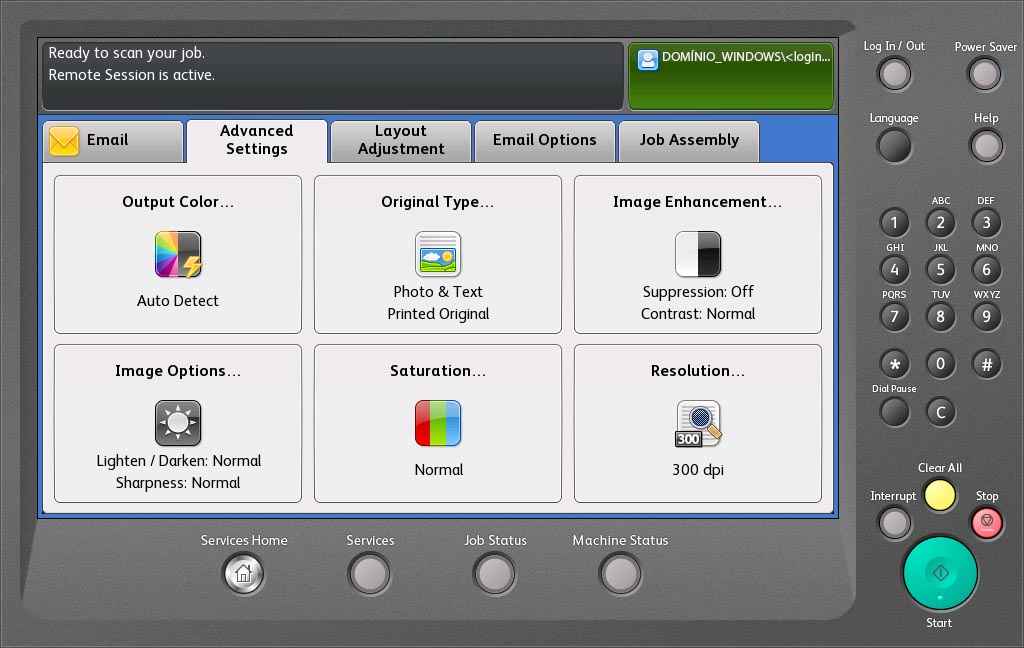
Change the "Layout Adjustment" options
-
On the "Layout Adjustment" tab, you can select the page orientation, the original size, as well as erase edges, etc.
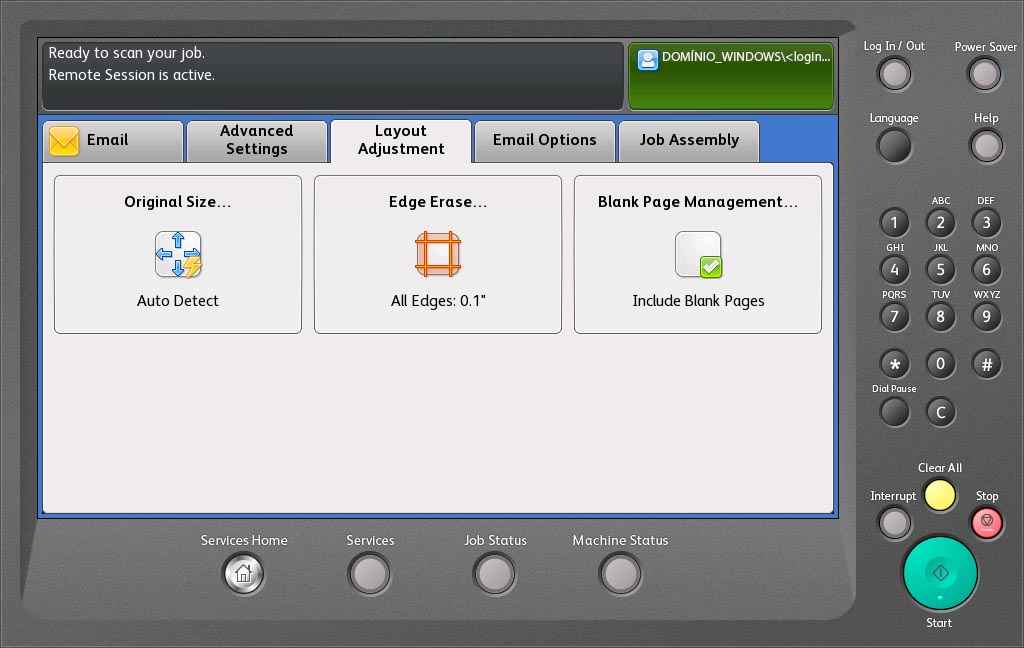
Changing the "Layout Adjustment" options
-
On the "Email Options" tab you can select the reply email addresses, the content of the message, the size/quality of the file, etc.
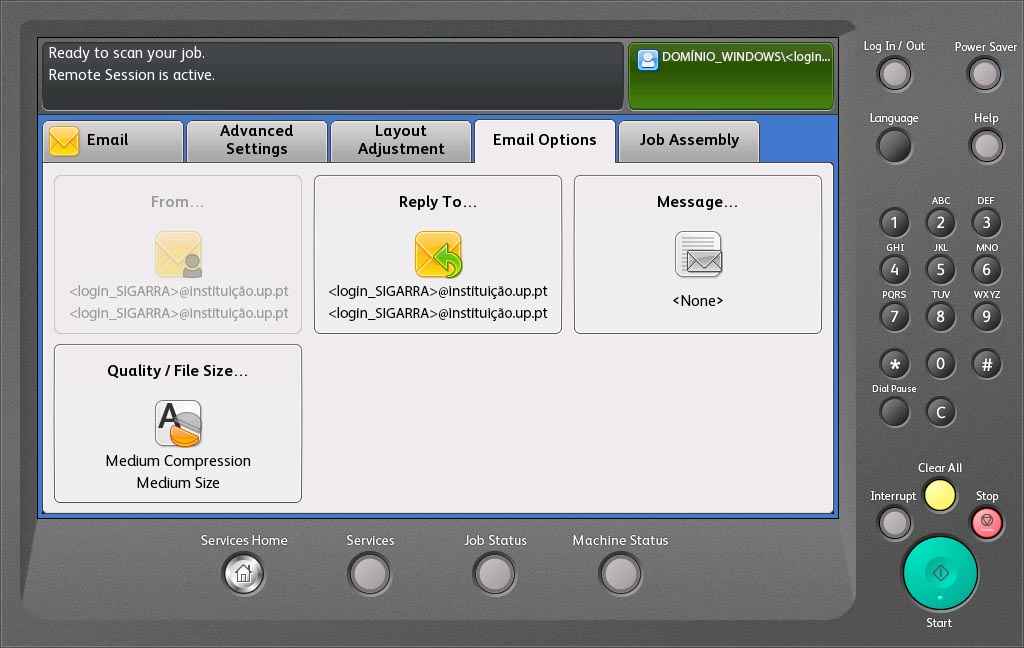
Changing "Email Options"
-
On the "Job Assembly" tab, you can save the settings selected or load settings that were previously saved
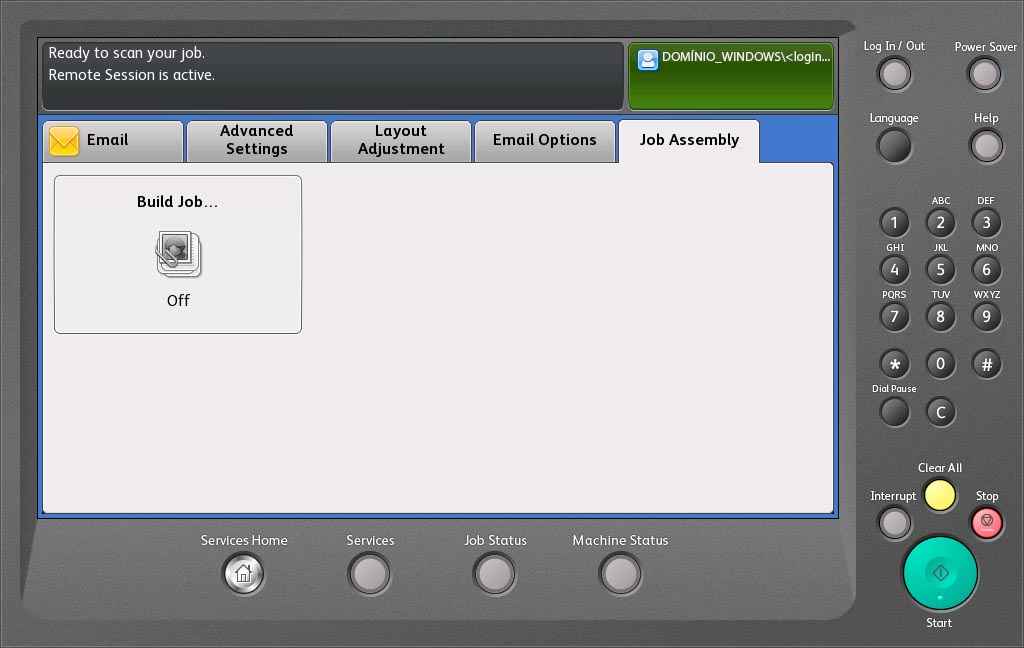
Changing the "Job Assembly" options
-
After selecting the desired options, put the original document in the multifunction printer:
On the top feeder, with the side you want to copy face up
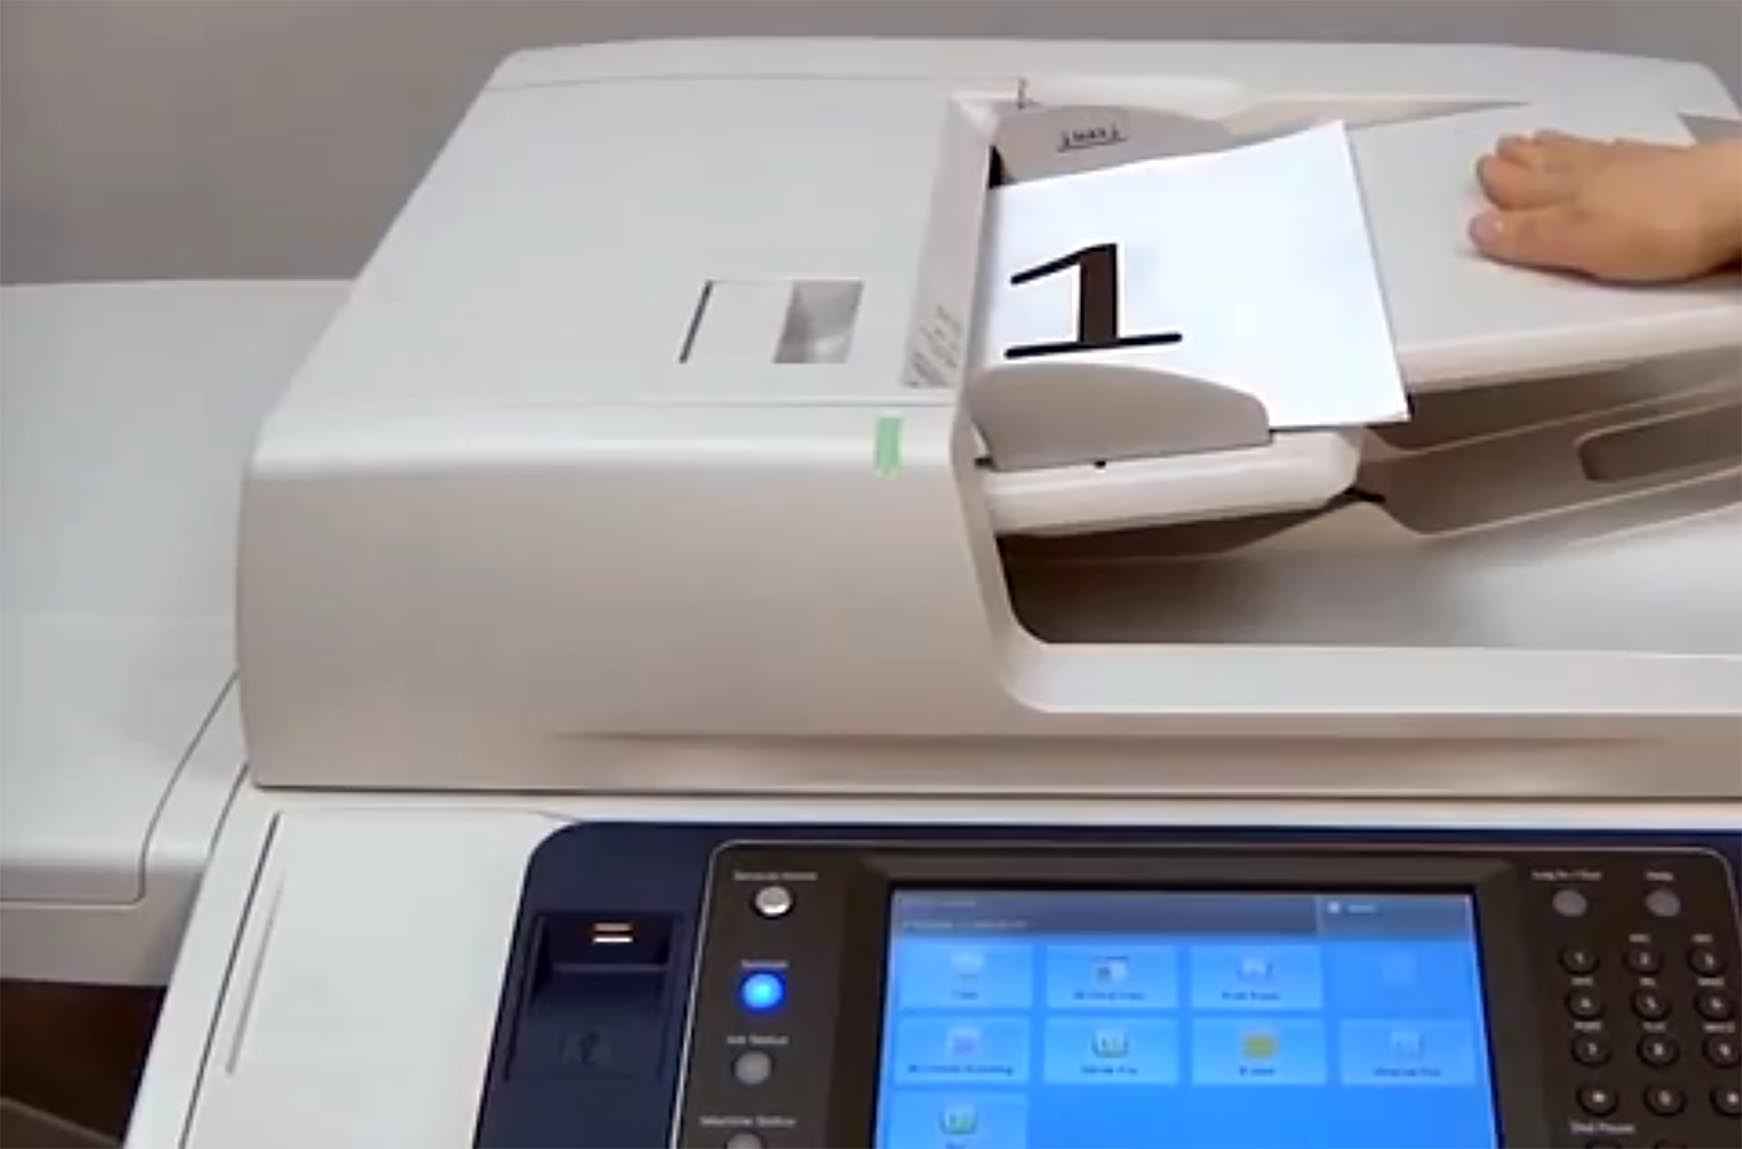
Placing the document in the top feeder
-
On the exposure glass, with the side you want to copy face down and aligned using the top left corner
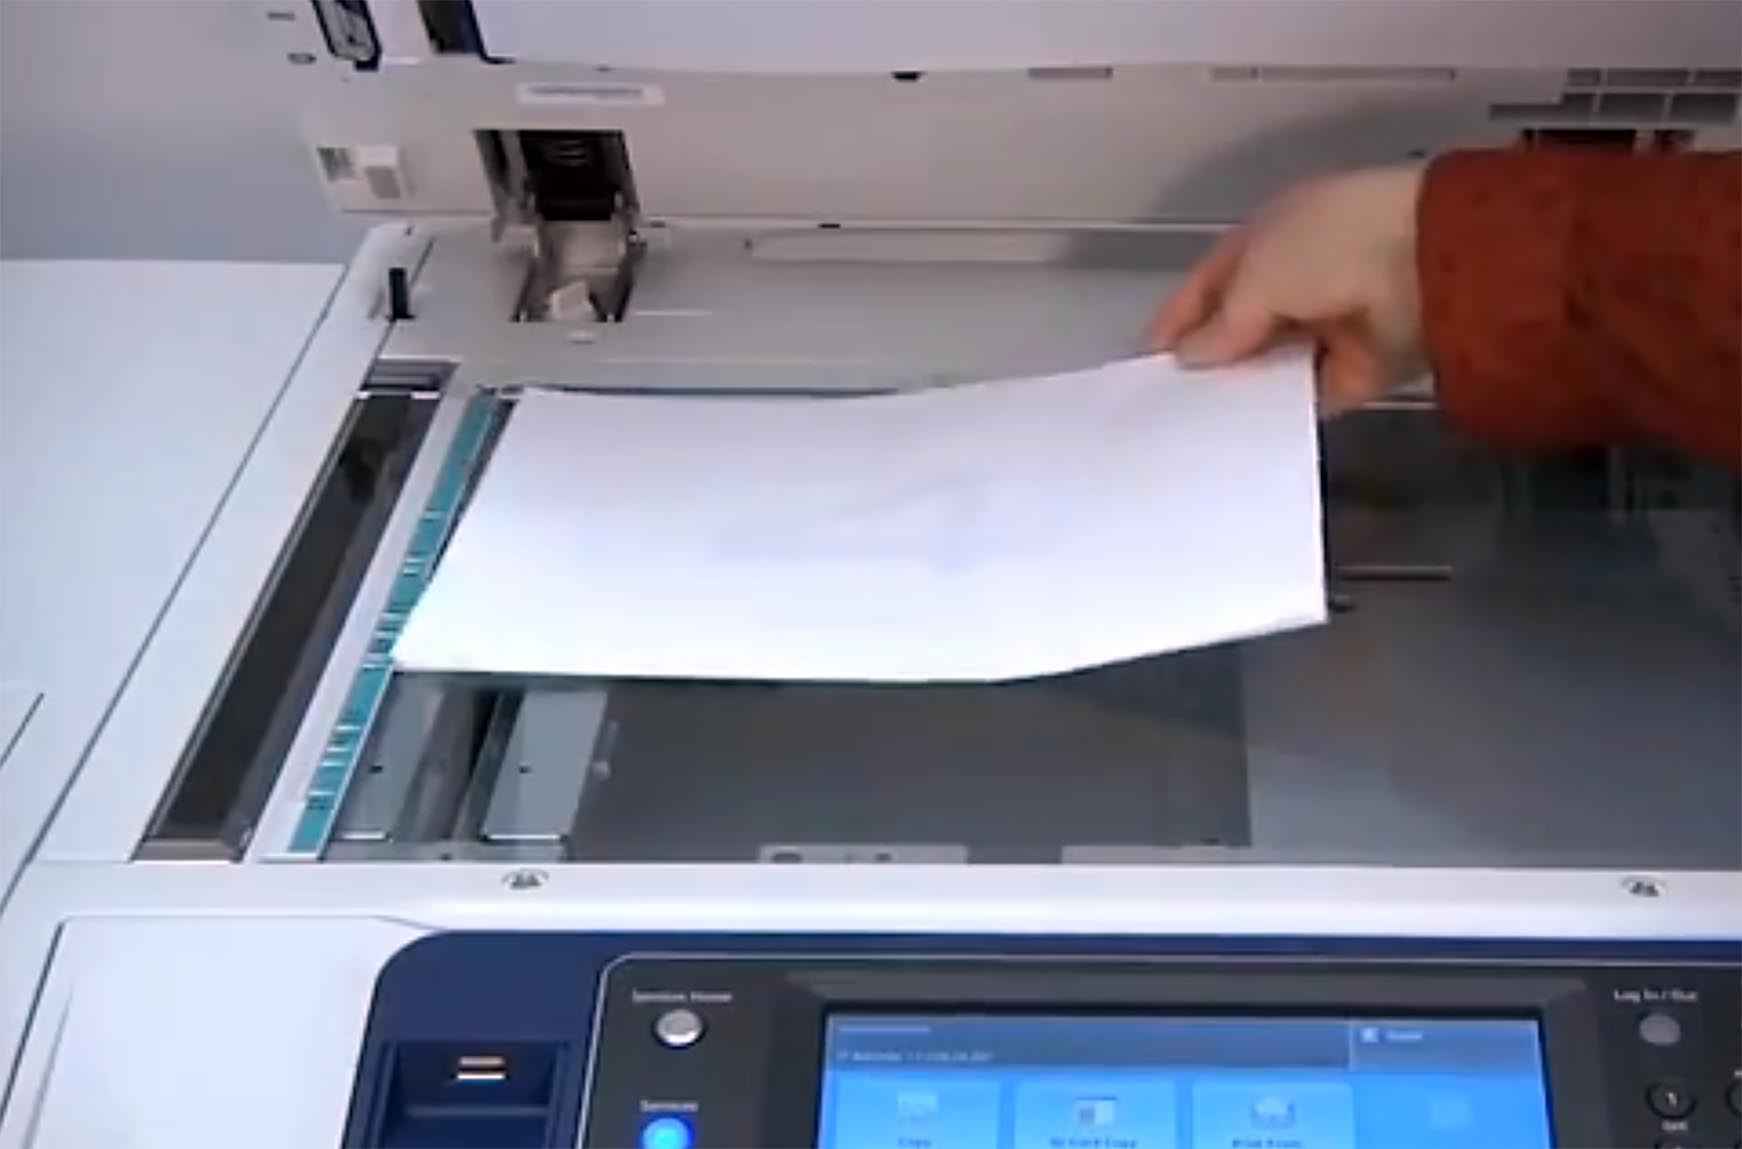
Placing the document on the exposure glass
-
Press the green "Start" button.
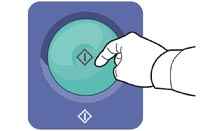
Pressing the green "Start" button
-
The scanning process will start.

Processing the scan
-
At the end, a message will appear to inform that the scan and delivery are completed.
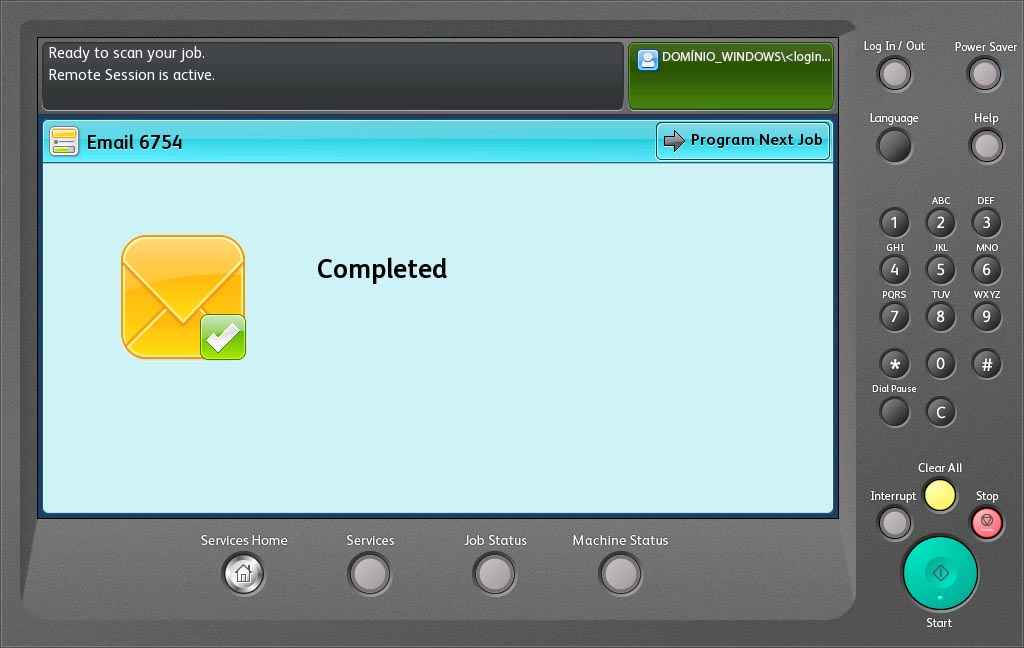
Scanning and delivery completed
-
Do not forget to log out after scanning all documents.
More information:
Unit of IT Support
E-mail: [email protected]