-

- About UPdigital
-
IT Services
- IT Services Directory
- Accessibility and Disability
- Web Apps
- Teaching Support
- Archives, Libraries and Repositories
- U.Porto Card
-
Accounts and Passwords
- Web Hosting
- Change/Recover Password
- Institutional Authentication
- Configure Forwarding in Microsoft Outlook 365
- Email Account (Lecturers and Staff)
- Email Account (Students)
- Google for Education
- HPC and Grid Computing
- Virtual Machines to Support Teaching and Research
- Microsoft Office 365 (Lecturers and Staff)
- Microsoft Office 365 (Students)
- Email Service
-
Printing
- Logging In to Printing Devices
- Load Quota
- Copying
- Scanning
- Web Printing
- Printing (Release Jobs to Print Devices)
- Printing From Institutional Equipment (Using PaperCut MF Client)
- Printing From Personal Devices (Installing Mobility Print)
- Printing From Personal Devices with Linux Operating System (Installing Mobility Print)
- Pricing
- Printing Service
- Website of the Printing Service
-
Networks and Connectivity
- Mobile Communications
- Wired Network
- Telephony (VoIP)
- VPN - Android (Manual Configuration)
- VPN - Android (FEUP Manual Configuration: SSL Check Point® Capsule)
- VPN - iOS (Automatic Configuration)
- VPN - iOS (Manual Configuration)
- VPN - iOS (FEUP Manual Configuration: SSL Check Point Capsule)
- VPN - Mac (Automatic Configuration)
- VPN - Mac (Manual Configuration)
- VPN - Mac (FEUP Manual Configuration: SSL Check Point Endpoint)
- VPN - Windows (Automatic Configuration)
- VPN - Windows 10 (Manual Configuration)
- VPN - Windows 10 (FEUP Manual Configuration: SSL Check Point Capsule)
- VPN - Windows 10 and 11 (Manual Configuration ICBAS and FFUP: SSL Check Point Endpoint)
- VPN - Windows 7 (Manual Configuration)
- VPN - Ubuntu (Manual Configuration)
- VPN - Ubuntu (FEUP Manual Configuration: PPTP)
- Wi-Fi
-
Information System
- Accessing your personal page
- Accessing Course Unit Fact Sheets
- Updating Personal Data
- Authentication (Login)
- Configuring your personal data
- Confirm Personal Data
- Viewing your current account
- Viewing your timetable
- Viewing your academic path
- Consulting Periods of Limitation
- Creating a multipurpose declaration
- Inserir/Alterar Fotografia
- Integration of Course Units with Moodle and Microsoft Teams
- Requesting a certificate
- Requesting a digital certificate
- Requesting a [email protected] Pass
- Software
-
Cyber Security
- Report Incident
-
Computer Security and Privacy
- Antivirus
- IT Security Audit
- Client Digital Certificates - Sign Email Messages
- Client Digital Certificates - Digital Signing of Documents (Non-Qualified Digital Signature)
- Client Digital Certificates - Install
- Client Digital Certificates - Obtaining a Certificate
- Client Digital Certificates - Revocation
- Digital Certificates for Servers
- Policies and Good Practices
- Data Protection
- Tutorials
- Help and Support
- Contacts
Access through Web
- Go to https://webmail.up.pt
- Enter your username in the form up[123456789]@up.pt, where the numeric part is your machine number;
- Enter your password;
Webmail access authentication
Access through Microsoft Outlook email client
It is important to have a current version of Microsoft Outlook installed, preferably Microsoft Outlook 365. Do not use a version older than Microsoft Outlook 2016.
If you already have your U.Porto institutional email account configured in Microsoft Outlook, you should create a new Outlook profile.
-
Open Microsoft Outlook and select the "File" menu;
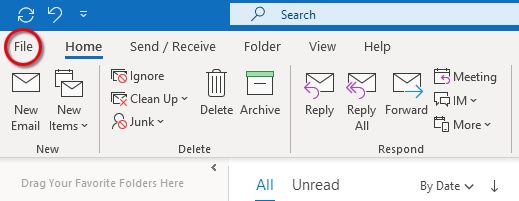
"File" menu
-
Click the "Add Account" button;
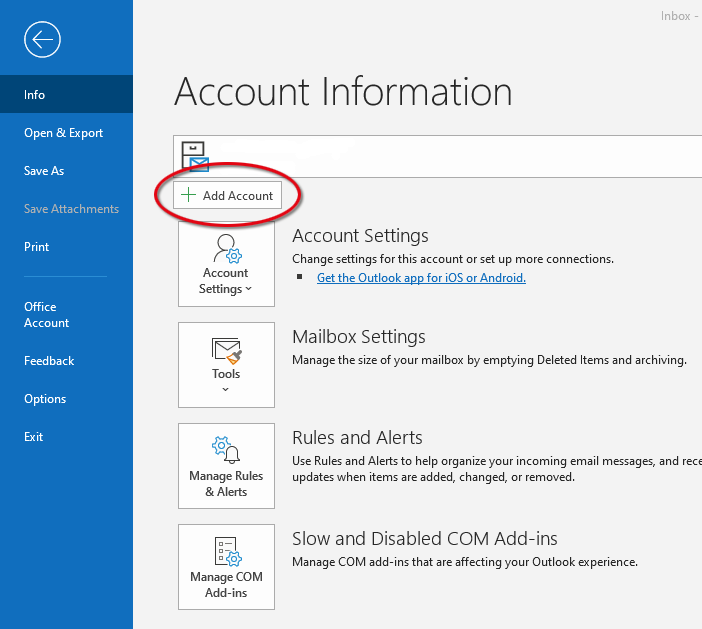
Add account
-
Enter your email address in the format [user]@[institution].up.pt[ 1 ];
-
Still, in the same window, choose "Advanced options" and tick "Let me set up my account manually";
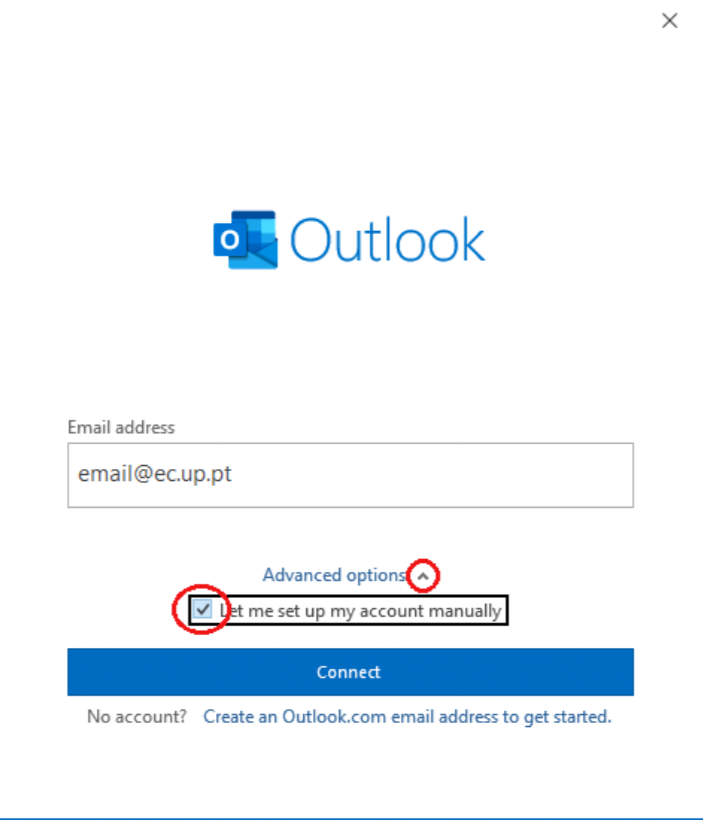
Email address and manually setup account
-
Click on the "Connect" button;
-
In the next window select the "Exchange" icon;
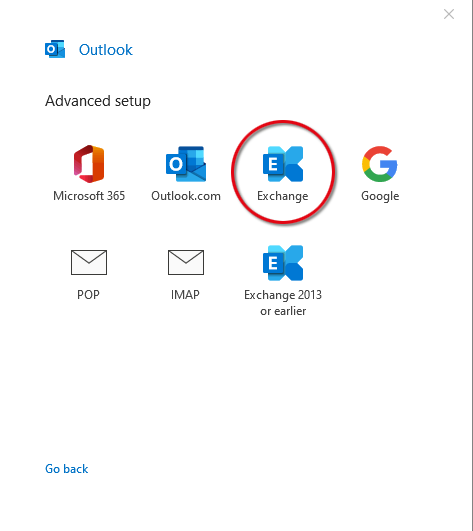
Exchange icon
-
Enter the username in the format up[123456789]@up.pt where the numeric part corresponds to your machine number - do not put your email address because if you do, the procedure will not work;
-
In the same window, tick the "Remember my credentials" box;
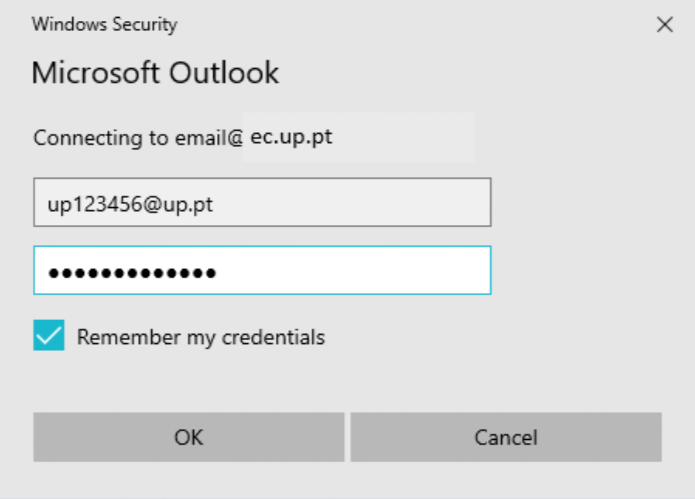
Username, password and remember credentials
-
Click on the "OK" button;
-
In the "Exchange Account Settings" window, you can slide the blue cursor to the right to download all your emails;
-
Click the "Next" button;
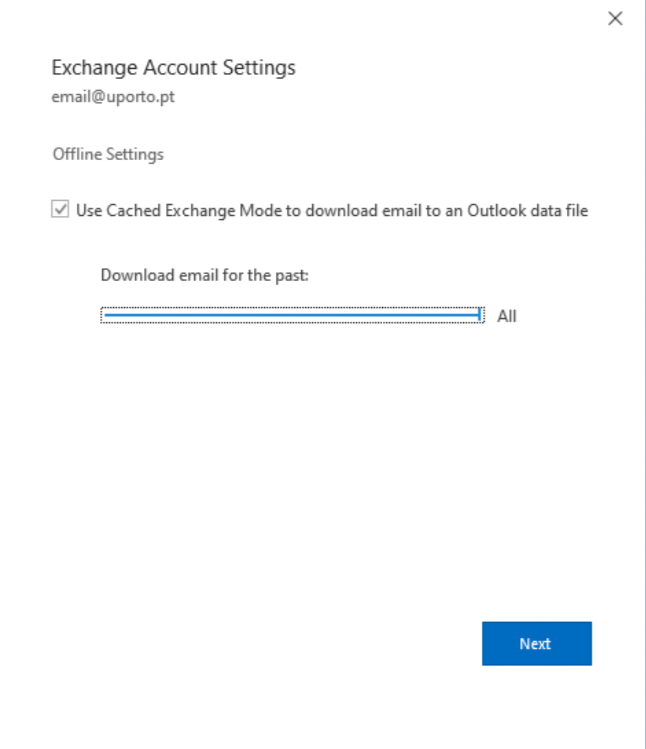
"Next" button
-
Click the "Done" button to restart Microsoft Outlook;
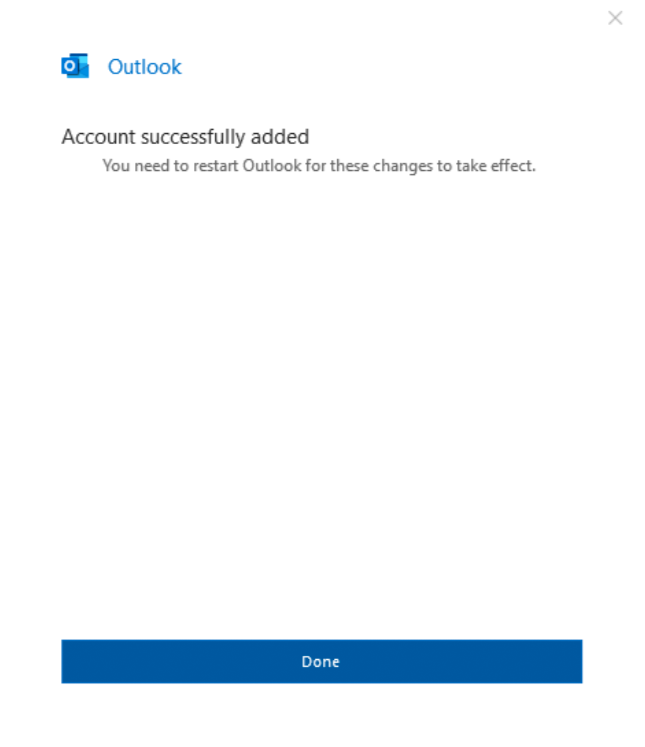
"Done" button
-
The setup is now complete.
If you have another account associated, such as a service account, you do not need to repeat the process because that account will be added automatically.
Access through Mozilla Thunderbird email client
-
Select the email account setup menu;
-
Enter your name, email address in the format [utilizador]@[instituição].up.pt[1] and its password;
-
Click the "Configure manually..." button;
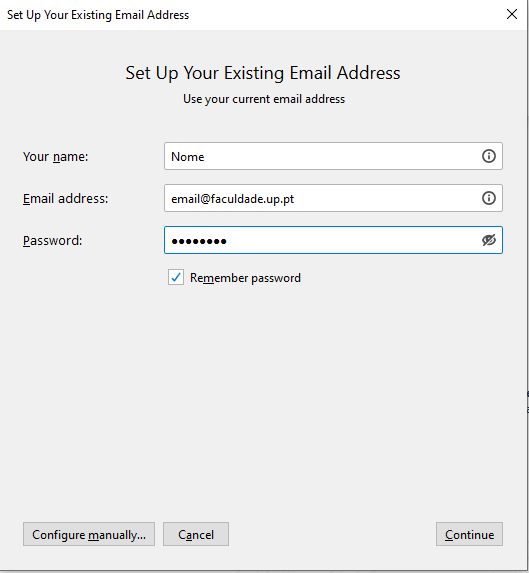
Configure manually
-
Fill in the servers' data as follows:
INCOMING
Protocol: IMAP
Server: mail.up.pt
Port: 993
SSL: SSL/TLS
Authentication: NTLM
Username: up[123456789]@up.ptOUTGOING
Server: mail.up.pt
Port: 587
SSL: STARTTLS
Authentication: NTLM
Username: up[123456789]@up.pt -
The username is always up[123456789]@up.pt, where the numeric part corresponds to your username. If you don't know your username, check it in your U.Porto Card or in your Information System page;
-
Click the "Done" button to finish.
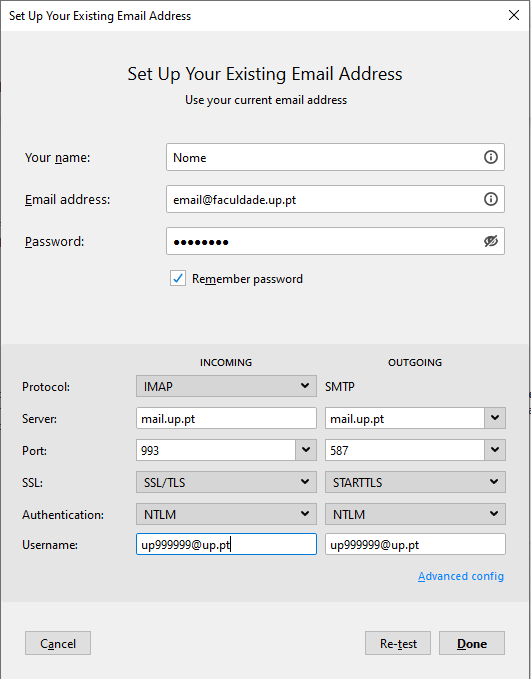
"Done" button
-
Your email account is now set up.
Configuring the Calendar and Tasks services
You need to install two add-ons in Mozilla Thunderbird:
-
Click on the Menu (upper right corner of the Mozilla Thunderbird window) and choose the Add-ons option;
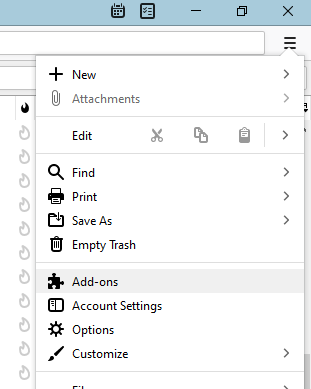
Add-ons
-
In the search box type the expression tbsync;
-
Install the add-ons "TbSync" and "Provide for Exchange ActiveSync" by clicking the green "Add to Thunderbird" buttons;
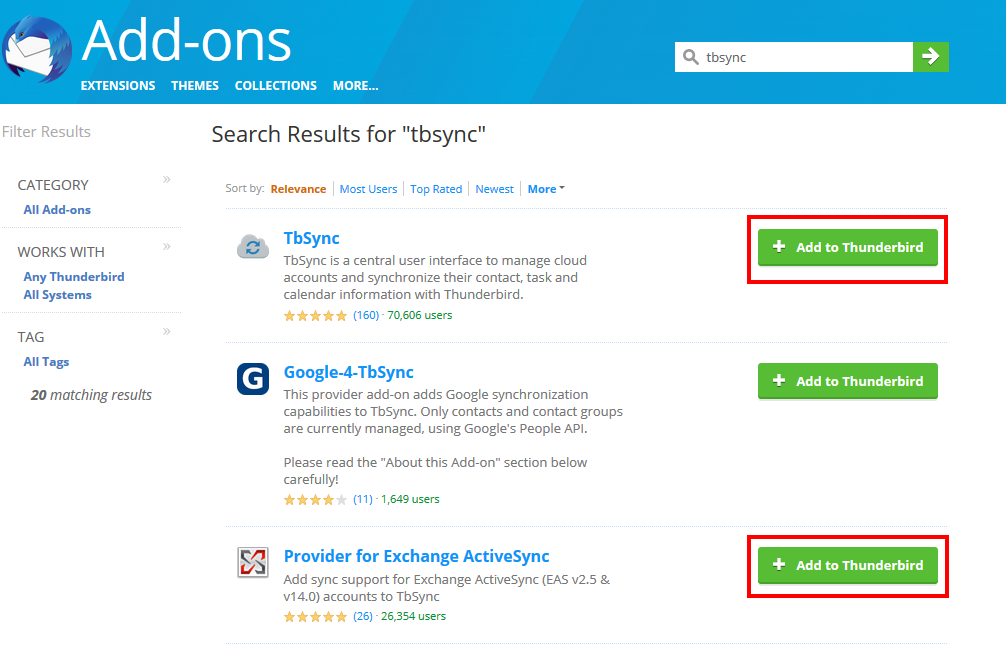
Add to Thunderbird
-
After installation, click on the TbSync icon (upper right corner of the Mozilla Thunderbird window);

TbSync icon
-
On the "Account Settings" tab of the "TbSync account manager" window, click on the "Account Actions" button and, within the "Add new account" option, select "Exchange ActiveSync";
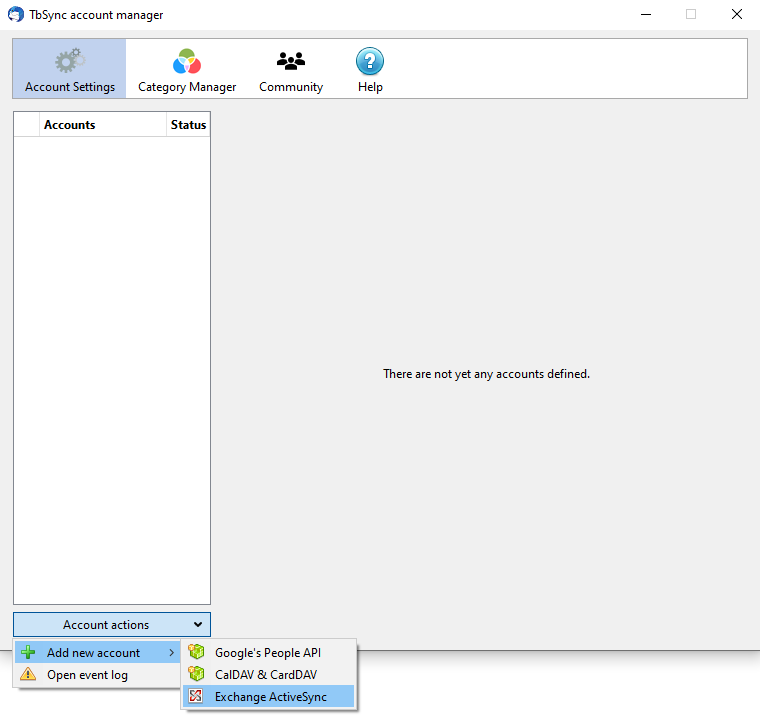
Exchange ActiveSync
-
In the window "Account information", select the option "Automatic configuration" and fill in the fields:
Account name: U.Porto;
User name (email address): up[123456789]@up.pt, where the numeric part corresponds to your machine number - do not put your email address because, if you do, the procedure won't work;
Password: your U.Porto password.
-
Click on the "Autodiscover settings and add account" button;
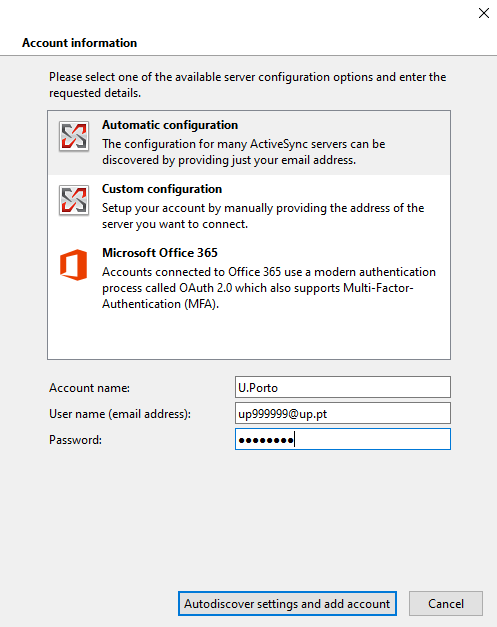
Autodiscover settings and add account
-
On the "Synchronization status" tab, under "Available resources", choose what you want to synchronize;
-
Click the "Synchronize now" button.
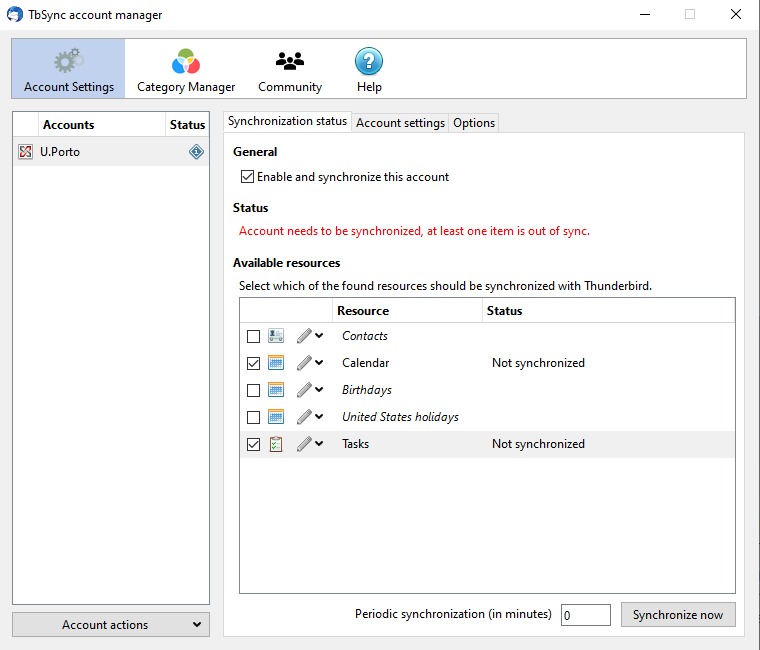
Synchronize now
-
Access to Calendars and Tasks is set up.
If you have chosen to synchronise your contacts, you will have access to the email system's general contact list.
Access through Gmail
-
On the Gmail homepage, click the "Options" icon in the upper right corner and then "See all settings";
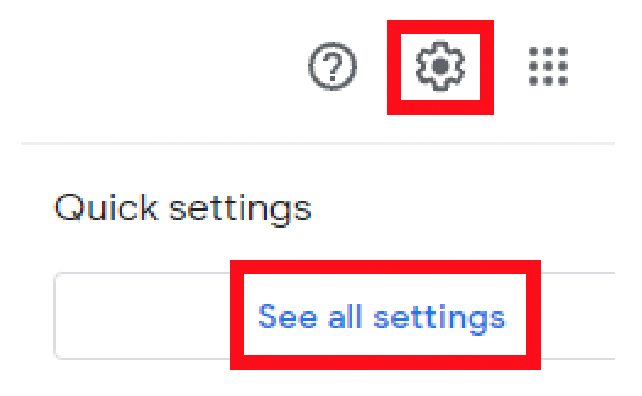
Options > See all settings
-
Choose the 'Accounts and Import' tab and under 'Check mail from other accounts' select the 'Add a mail account' option;

"Add a mail account" option
-
Fill in your U.Porto's email address and click "Next";
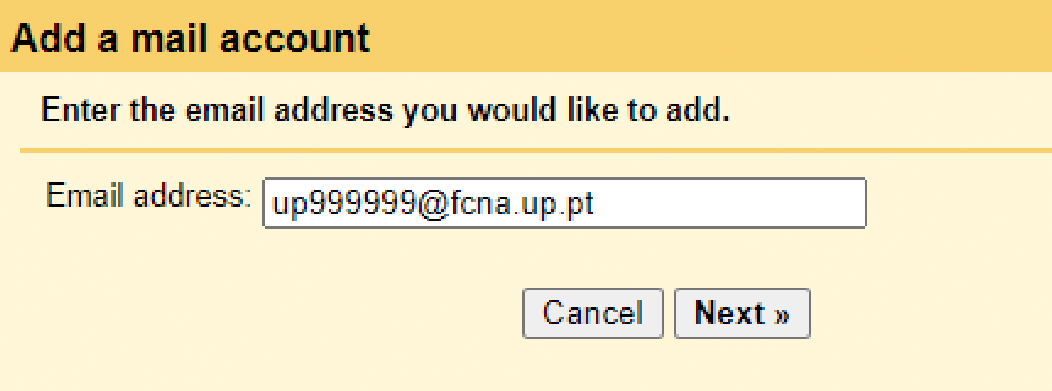
Enter the email address
-
Choose the option "Import emails from my other account (POP3)";
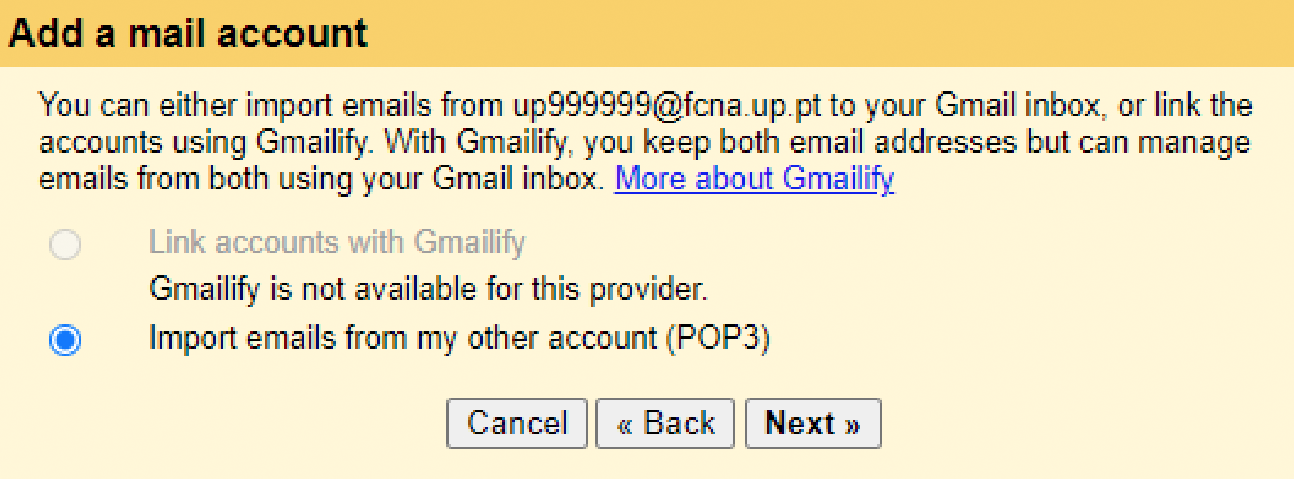
"Import emails from my other account (POP3)" option
-
Fill in the fields with the following data:
Username - up[123456789]@up.pt
The username is always up[123456789]@up.pt, where the numerical part corresponds to your username; if you don't know your username, please consult it in your U.Porto Card or in your Information System page;Password - your U.Porto password;
POP Server - mail.up.pt
Port - 995
-
The option "Always use a secure connection (SSL) when retrieving email" should be checked;
-
If you want the emails to be automatically placed in a specific label, you must define it in "Label incoming messages";
-
Click on "Add Account";
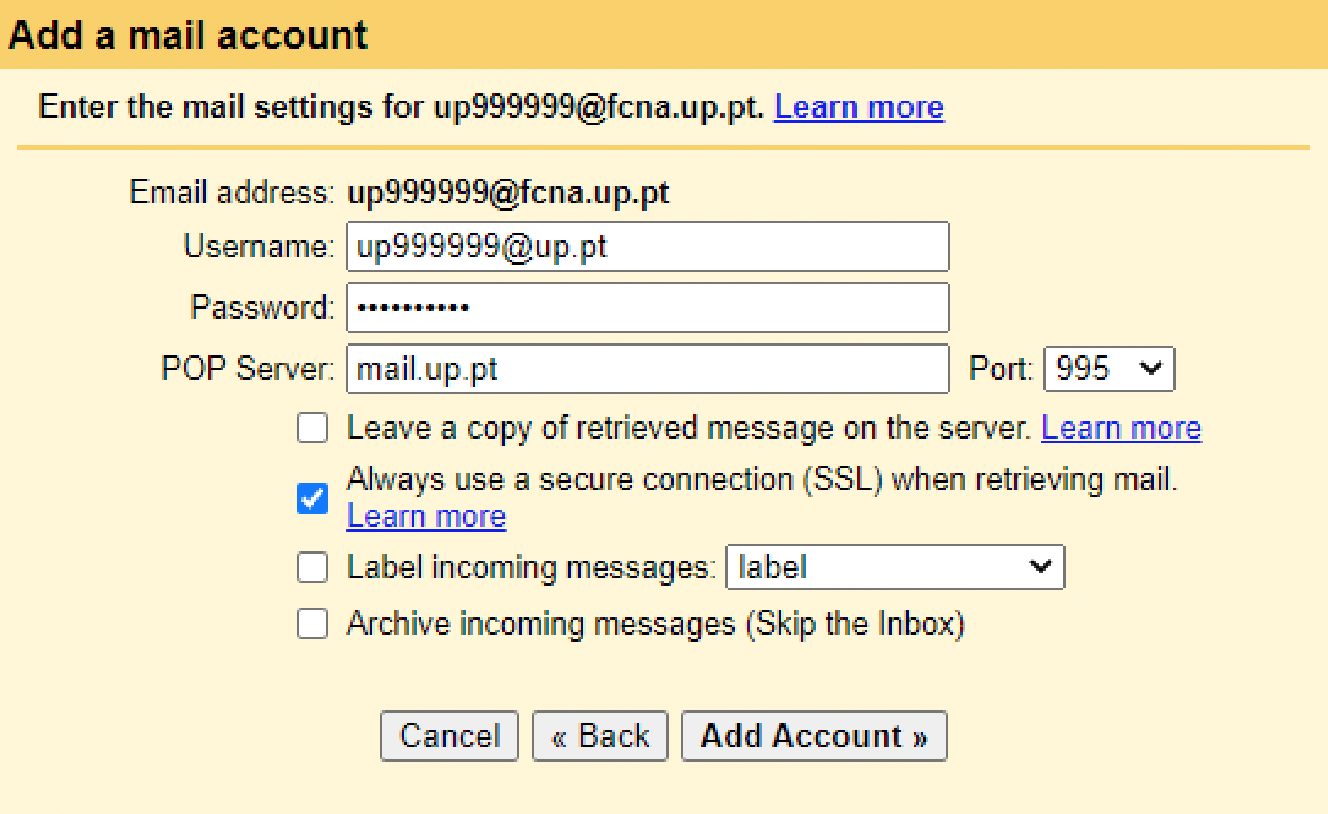
Add Account
-
Your account has been configured;
-
Now you need to configure Gmail to be able to send email on behalf of the U.Porto account;
-
Click "Next";;
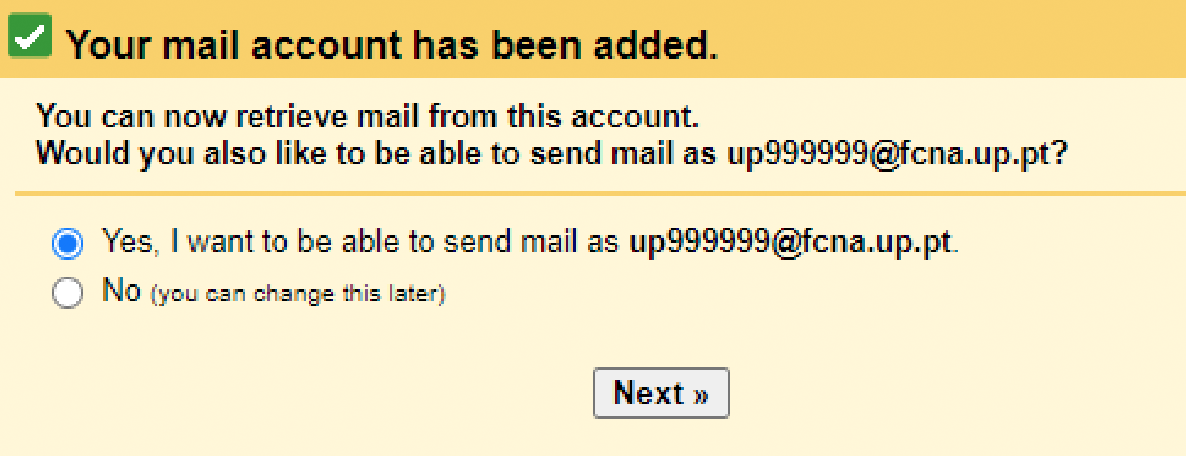
Send email on behalf of the U.Porto account
-
Fill in the requested information and click "Next Step";
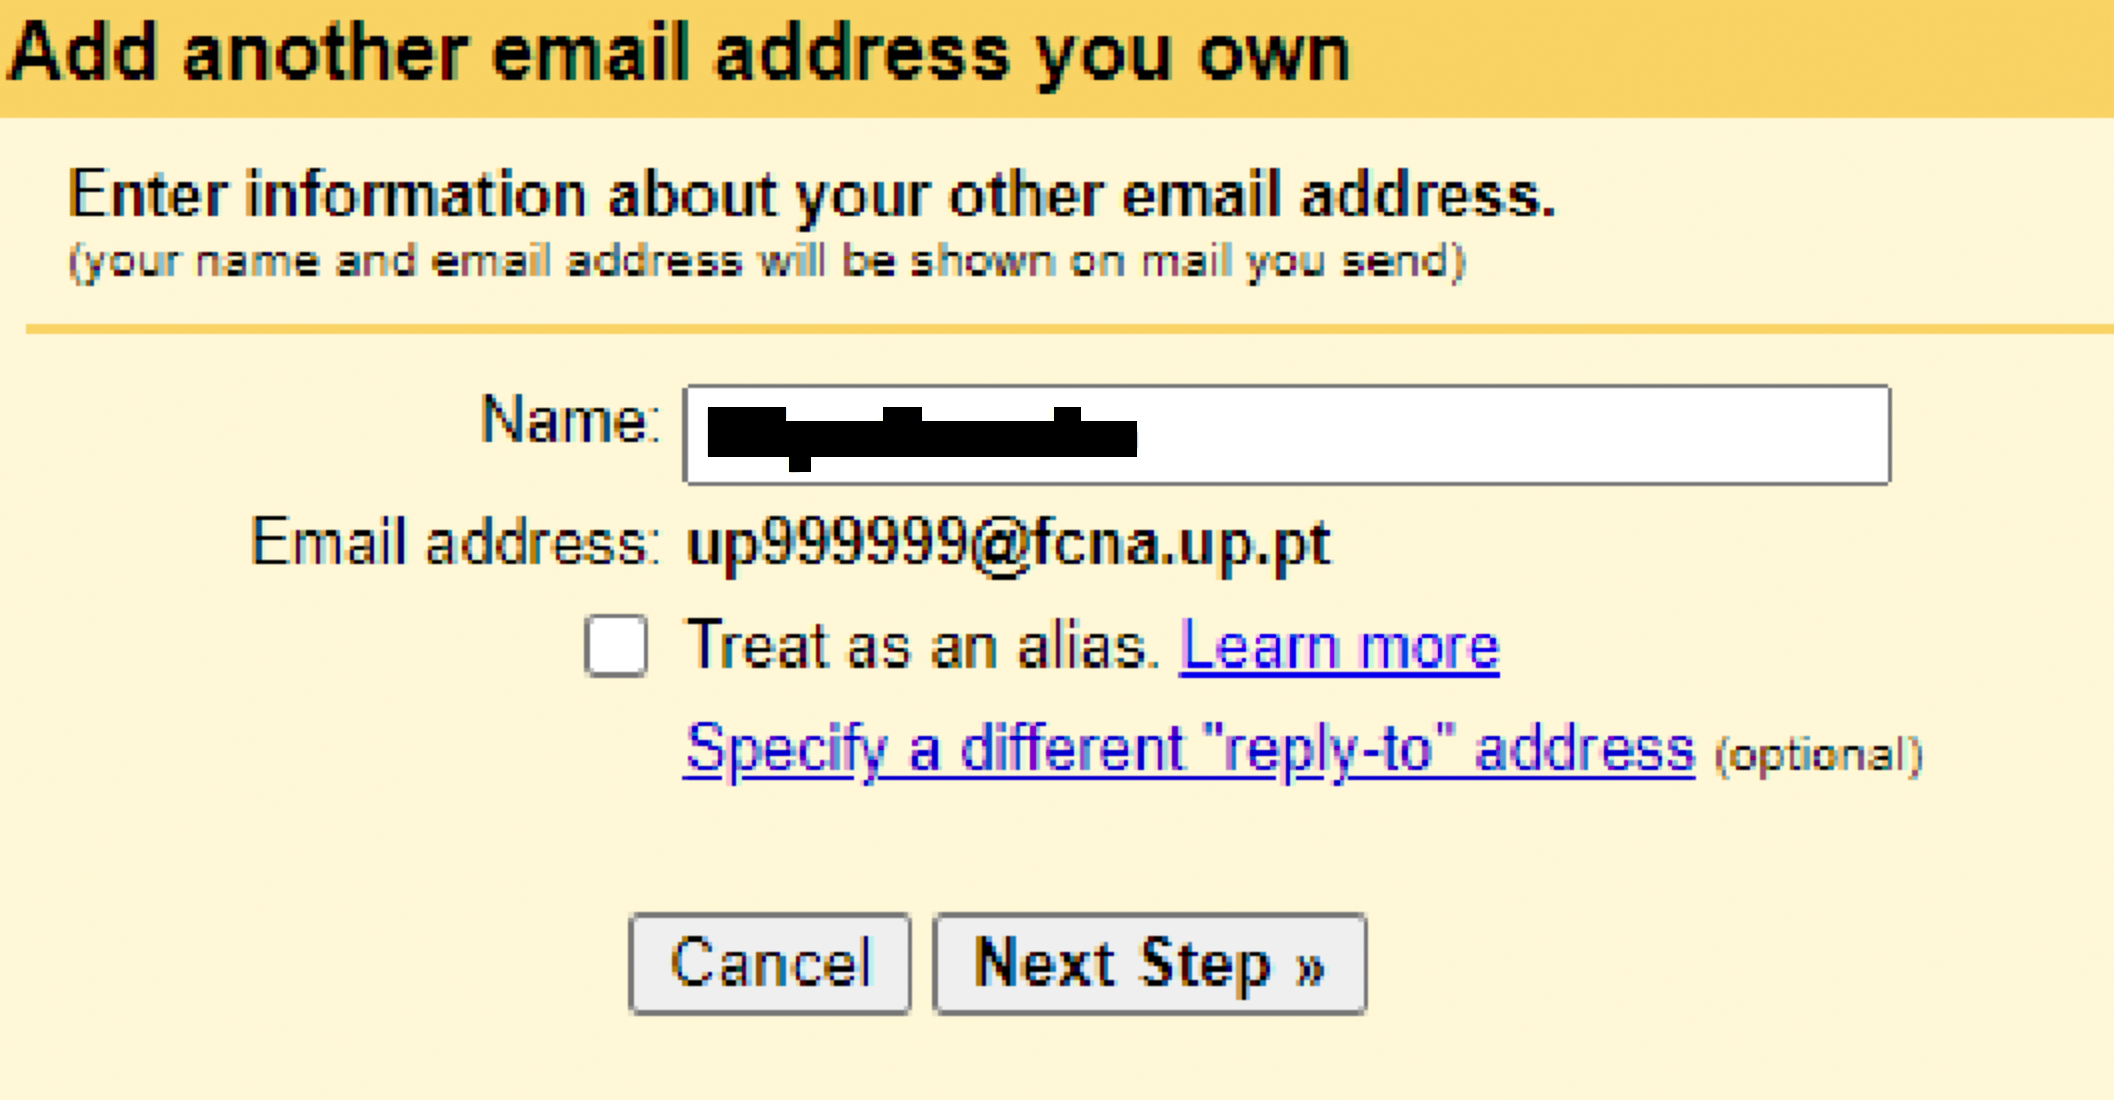
Fill in the requested information
-
Fill in the SMTP server fields with the following data:
SMTP Server - mail.up.pt
Port - 587
Username - up[123456789]@up.pt
The username is always up[123456789]@up.pt, where the numeric part corresponds to your username; if you don't know your username, please consult it in your U.Porto Card or in your Information System page;Password - your password from U.Porto;
-
The option "Secured connection using TLS" must be selected;
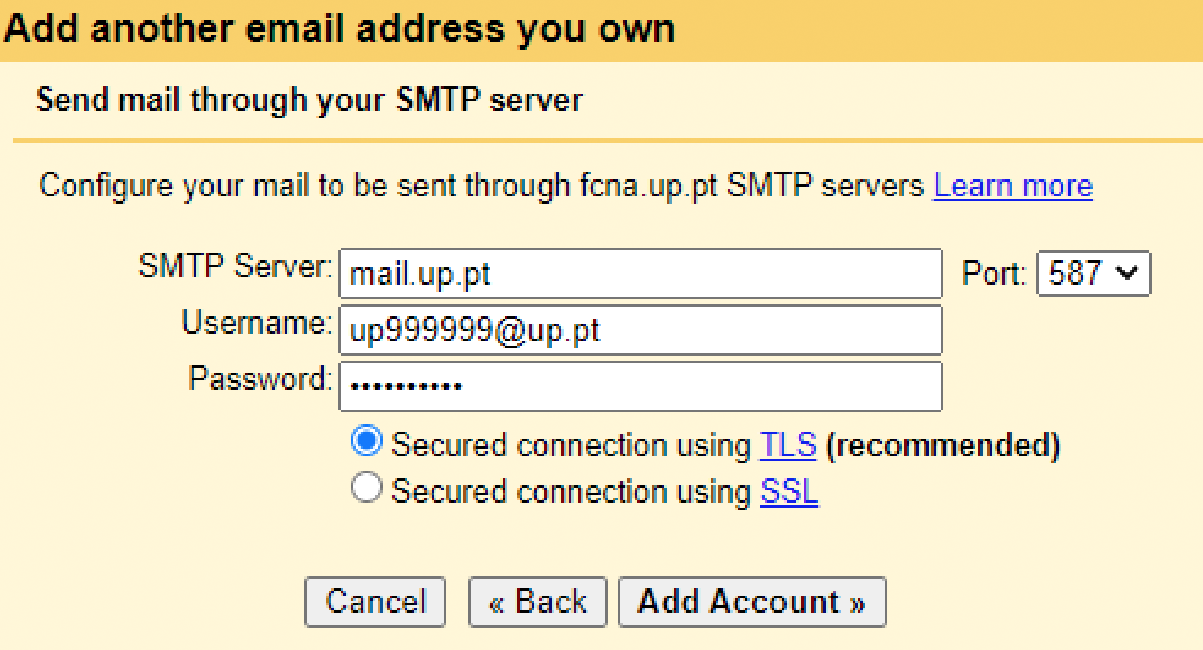
SMTP server configuration
-
Click "Add Account";
-
You will receive a validation code in your U.Porto mailbox;
-
Copy the code into the window and click "Verify";
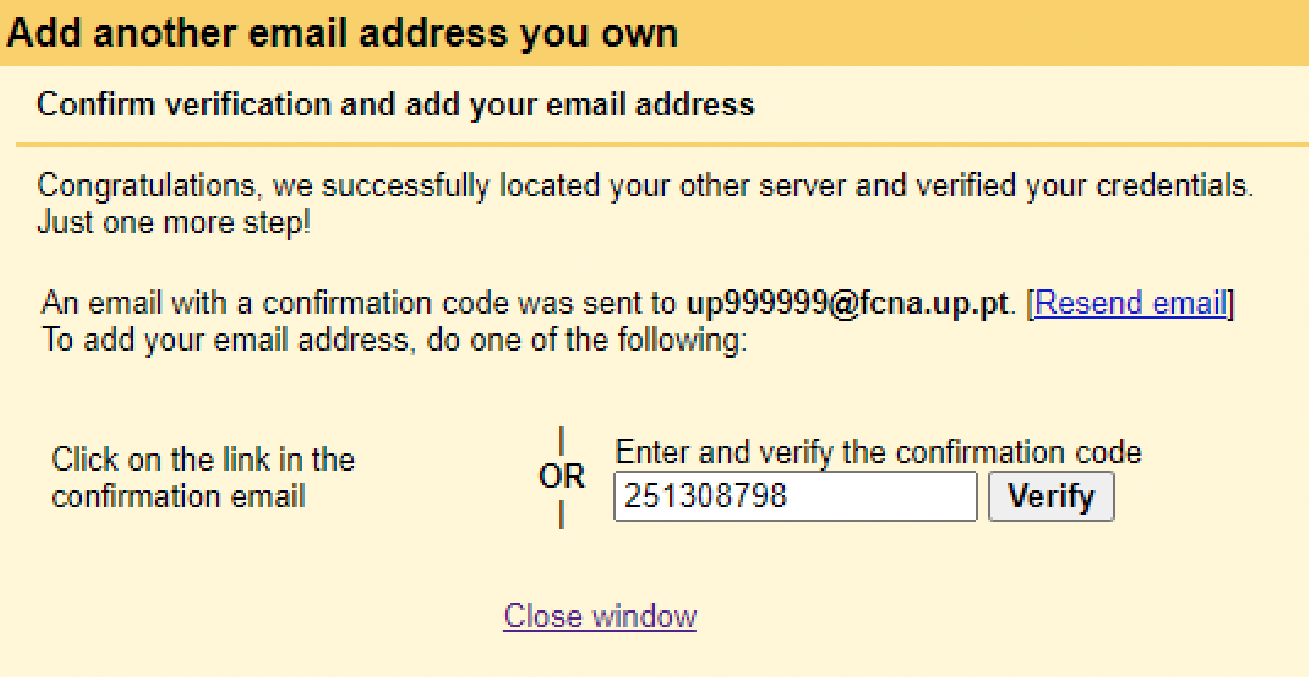
Validation code
-
Your Gmail access is ready.
Notes
- The institution corresponds to your home institution (arq, fade, fba, fc, fcna, direito, fe, fep, ff, fmd, fpce, icbas, letras ou med).
More information:
Unit of Systems Administration and Operations
E-mail: [email protected]